Refer to Document “Custom Roman Shades-What To Consider When Determining If Inside or Outside Mounted is Best” which will help you decide whether inside or outside mounted shades are best.
For the most accuracy use a metal measuring tape or a laser measuring tape. Measure twice to ensure accuracy. When you place the order, I will ask you to measure a third time to confirm.
For outside mounted shades, to accommodate the Continuous Cord Loop Clutch System, you need at least 4” of wall space above your window. You can mount the shade higher than 4” if you have room. Mounting the roman shades higher above the window makes the window seem taller, especially when they are short windows. By mounting the roman shades higher above the window, when they are up, they stack mostly on the wall, so you are not blocking as much glass and this will allow more light into the room during the day. You also have more flexibility as to how much of the fabric you would like exposed when the shade is up, since it is covering the wall and not the glass. At the bottom of this document you will find pictures of different mounting heights.
When determining how wide you would like the roman shades, the roman shade can be the exact width of the window casing. If you have wall space on both sides of the window casing, the roman shade can extend ½” to 1”-2” past each side of the window casing. It is a matter of preference. All options are acceptable.
If the shades are in a bedroom and blackout lining, is used, by extending the shade 1”, 1 ½ or 2” past each side of the window, it will minimize any light gaps that may peak through the sides.
Do you want blackout lining or cotton lining? Blackout lining is usually used in bedrooms to keep the room dark in the morning. If it is in another room, then cotton lining would be fine. If the fabric is very thin and you would like more body, a flannel backed cotton lining gives the shade more substance. This lining has a layer of interlining fused to the cotton lining so it acts like interlining.
If you have any questions you can email me pictures of your windows to lynn@lynnchalk.com .
This roman shade was mounted just below the crown molding. This allows for more light to come through when the shade is up, and also shows more of the fabric and trim as it stacks mostly on the wall.
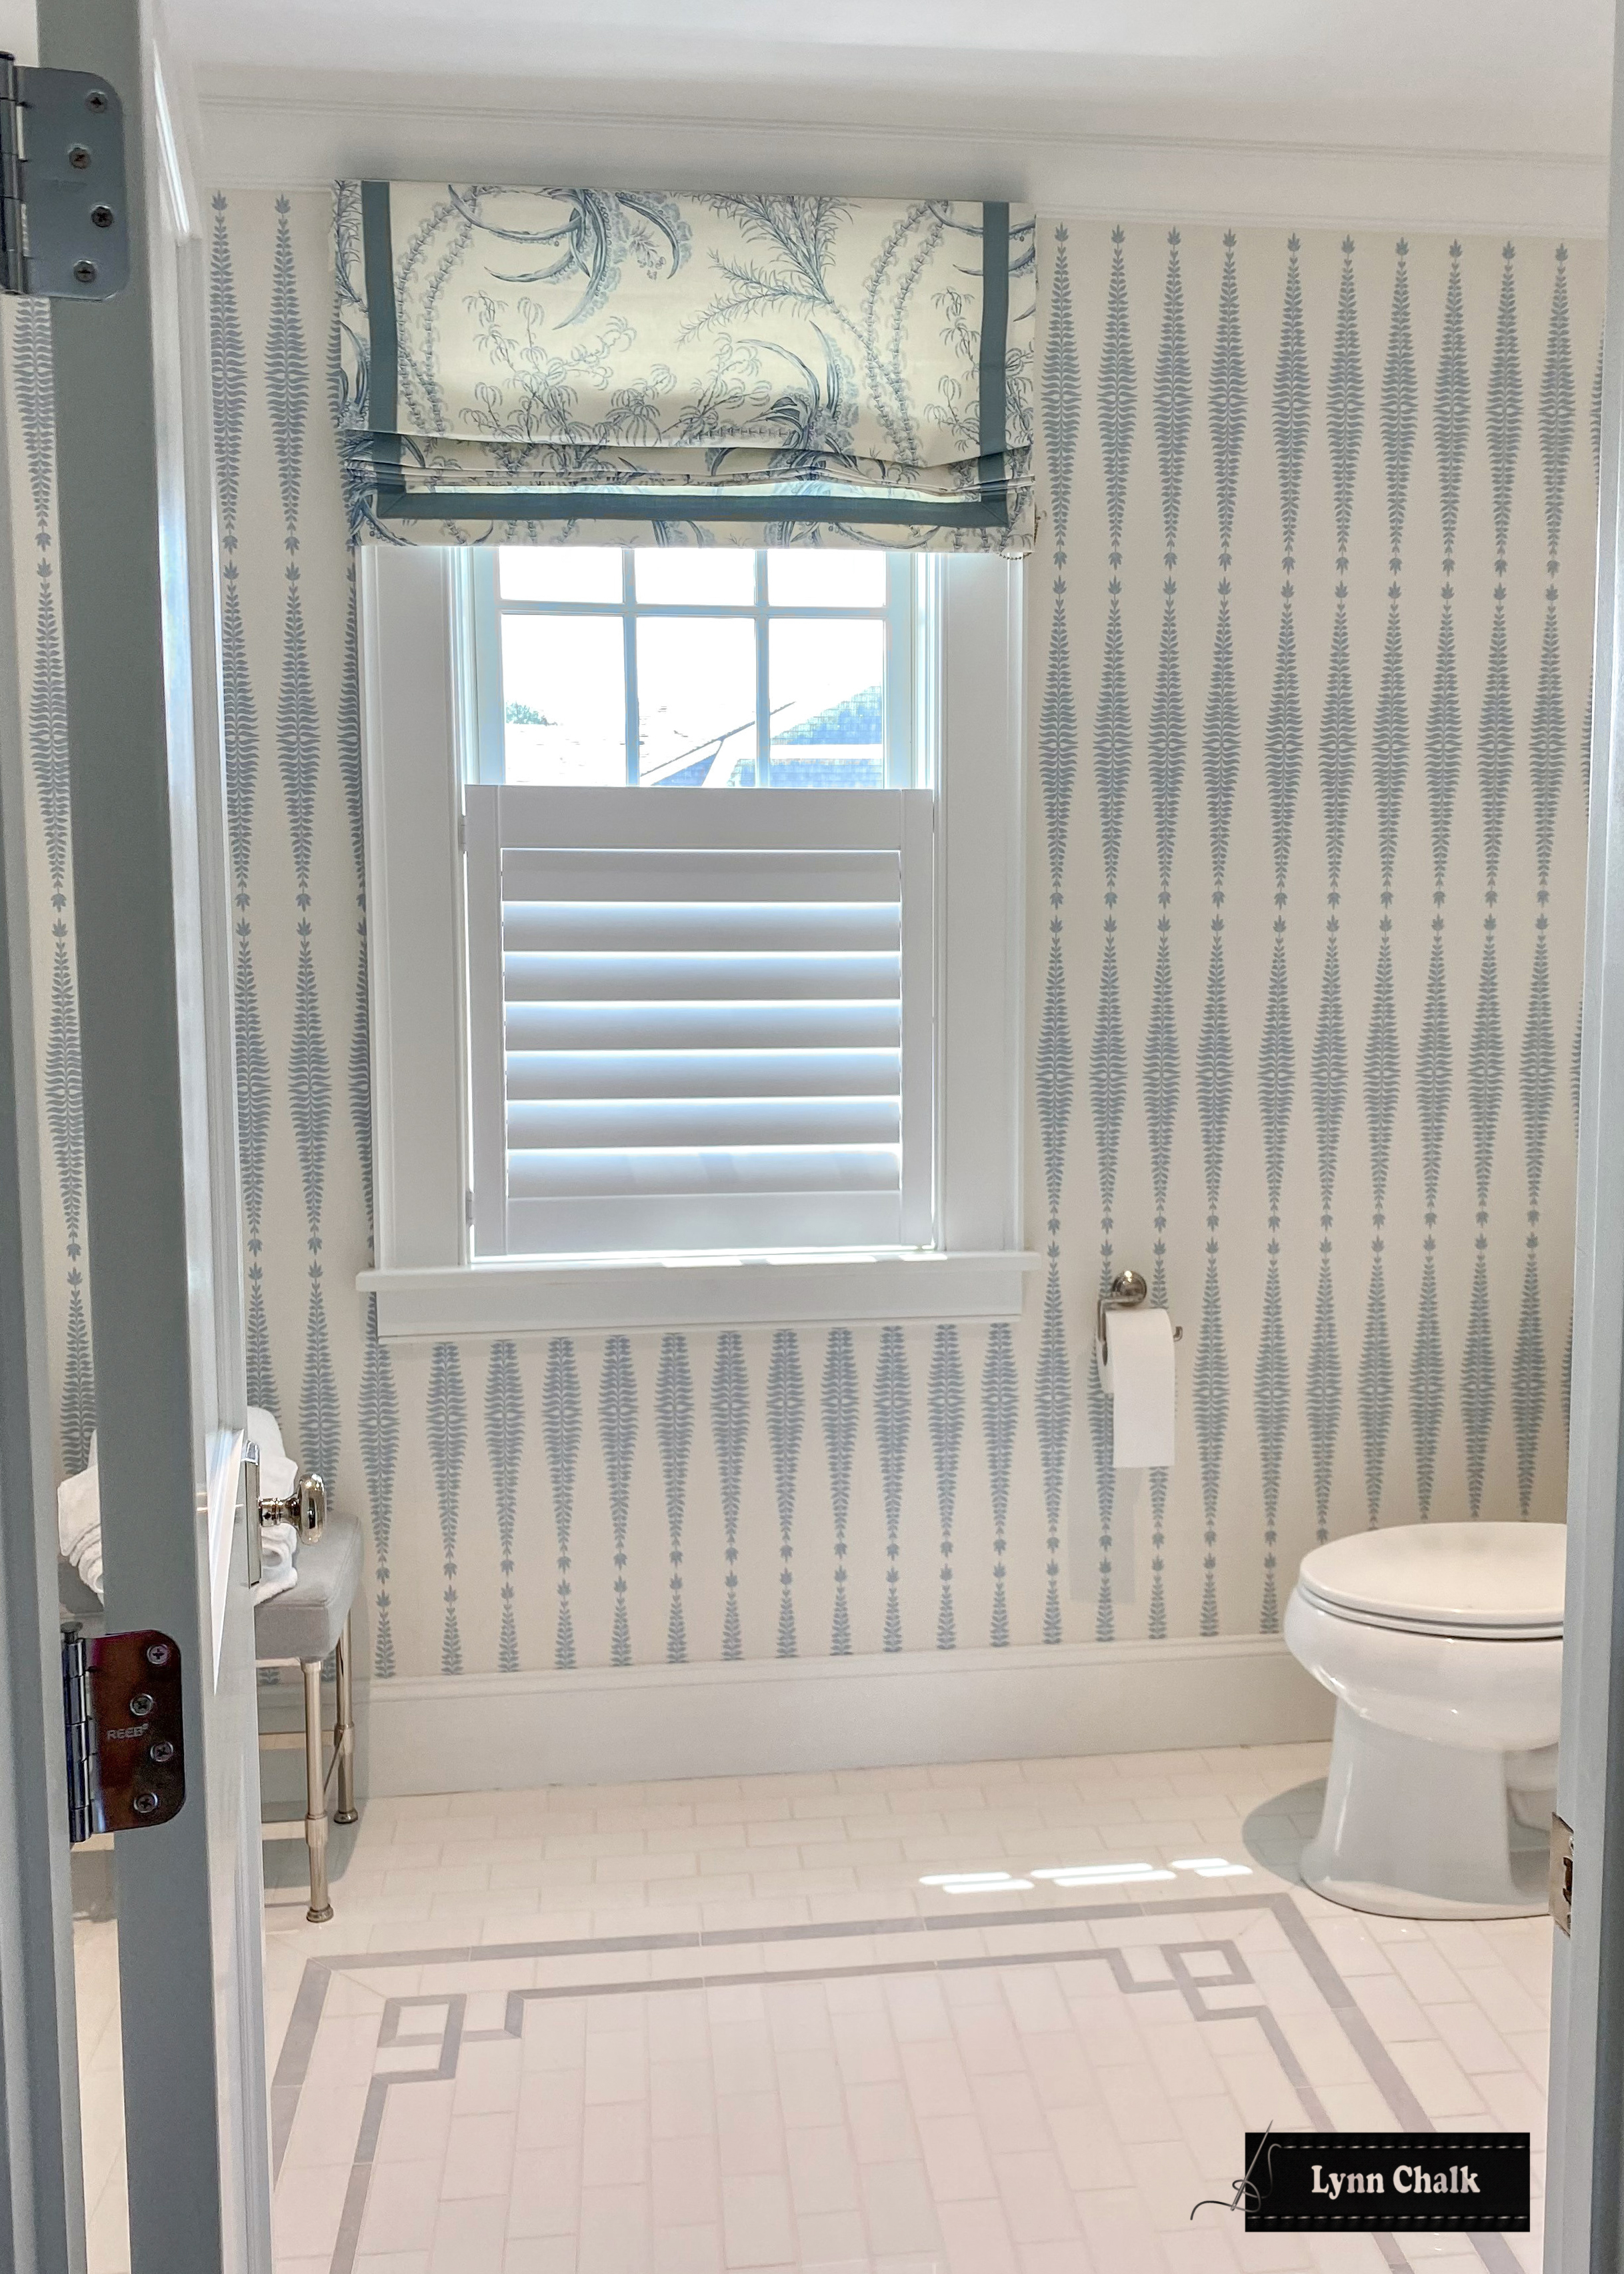
Roman Shade in Schumacher Ocean Toile Delft and Samuels and Sons Flanders L'eau Tide 1.5” Wide Trim
This Roman Shade is mounted half way between the top of the window and the bottom of the crown molding. This allows for the pretty floral wallpaper to frame the roman shade and make the window seem a bit taller.
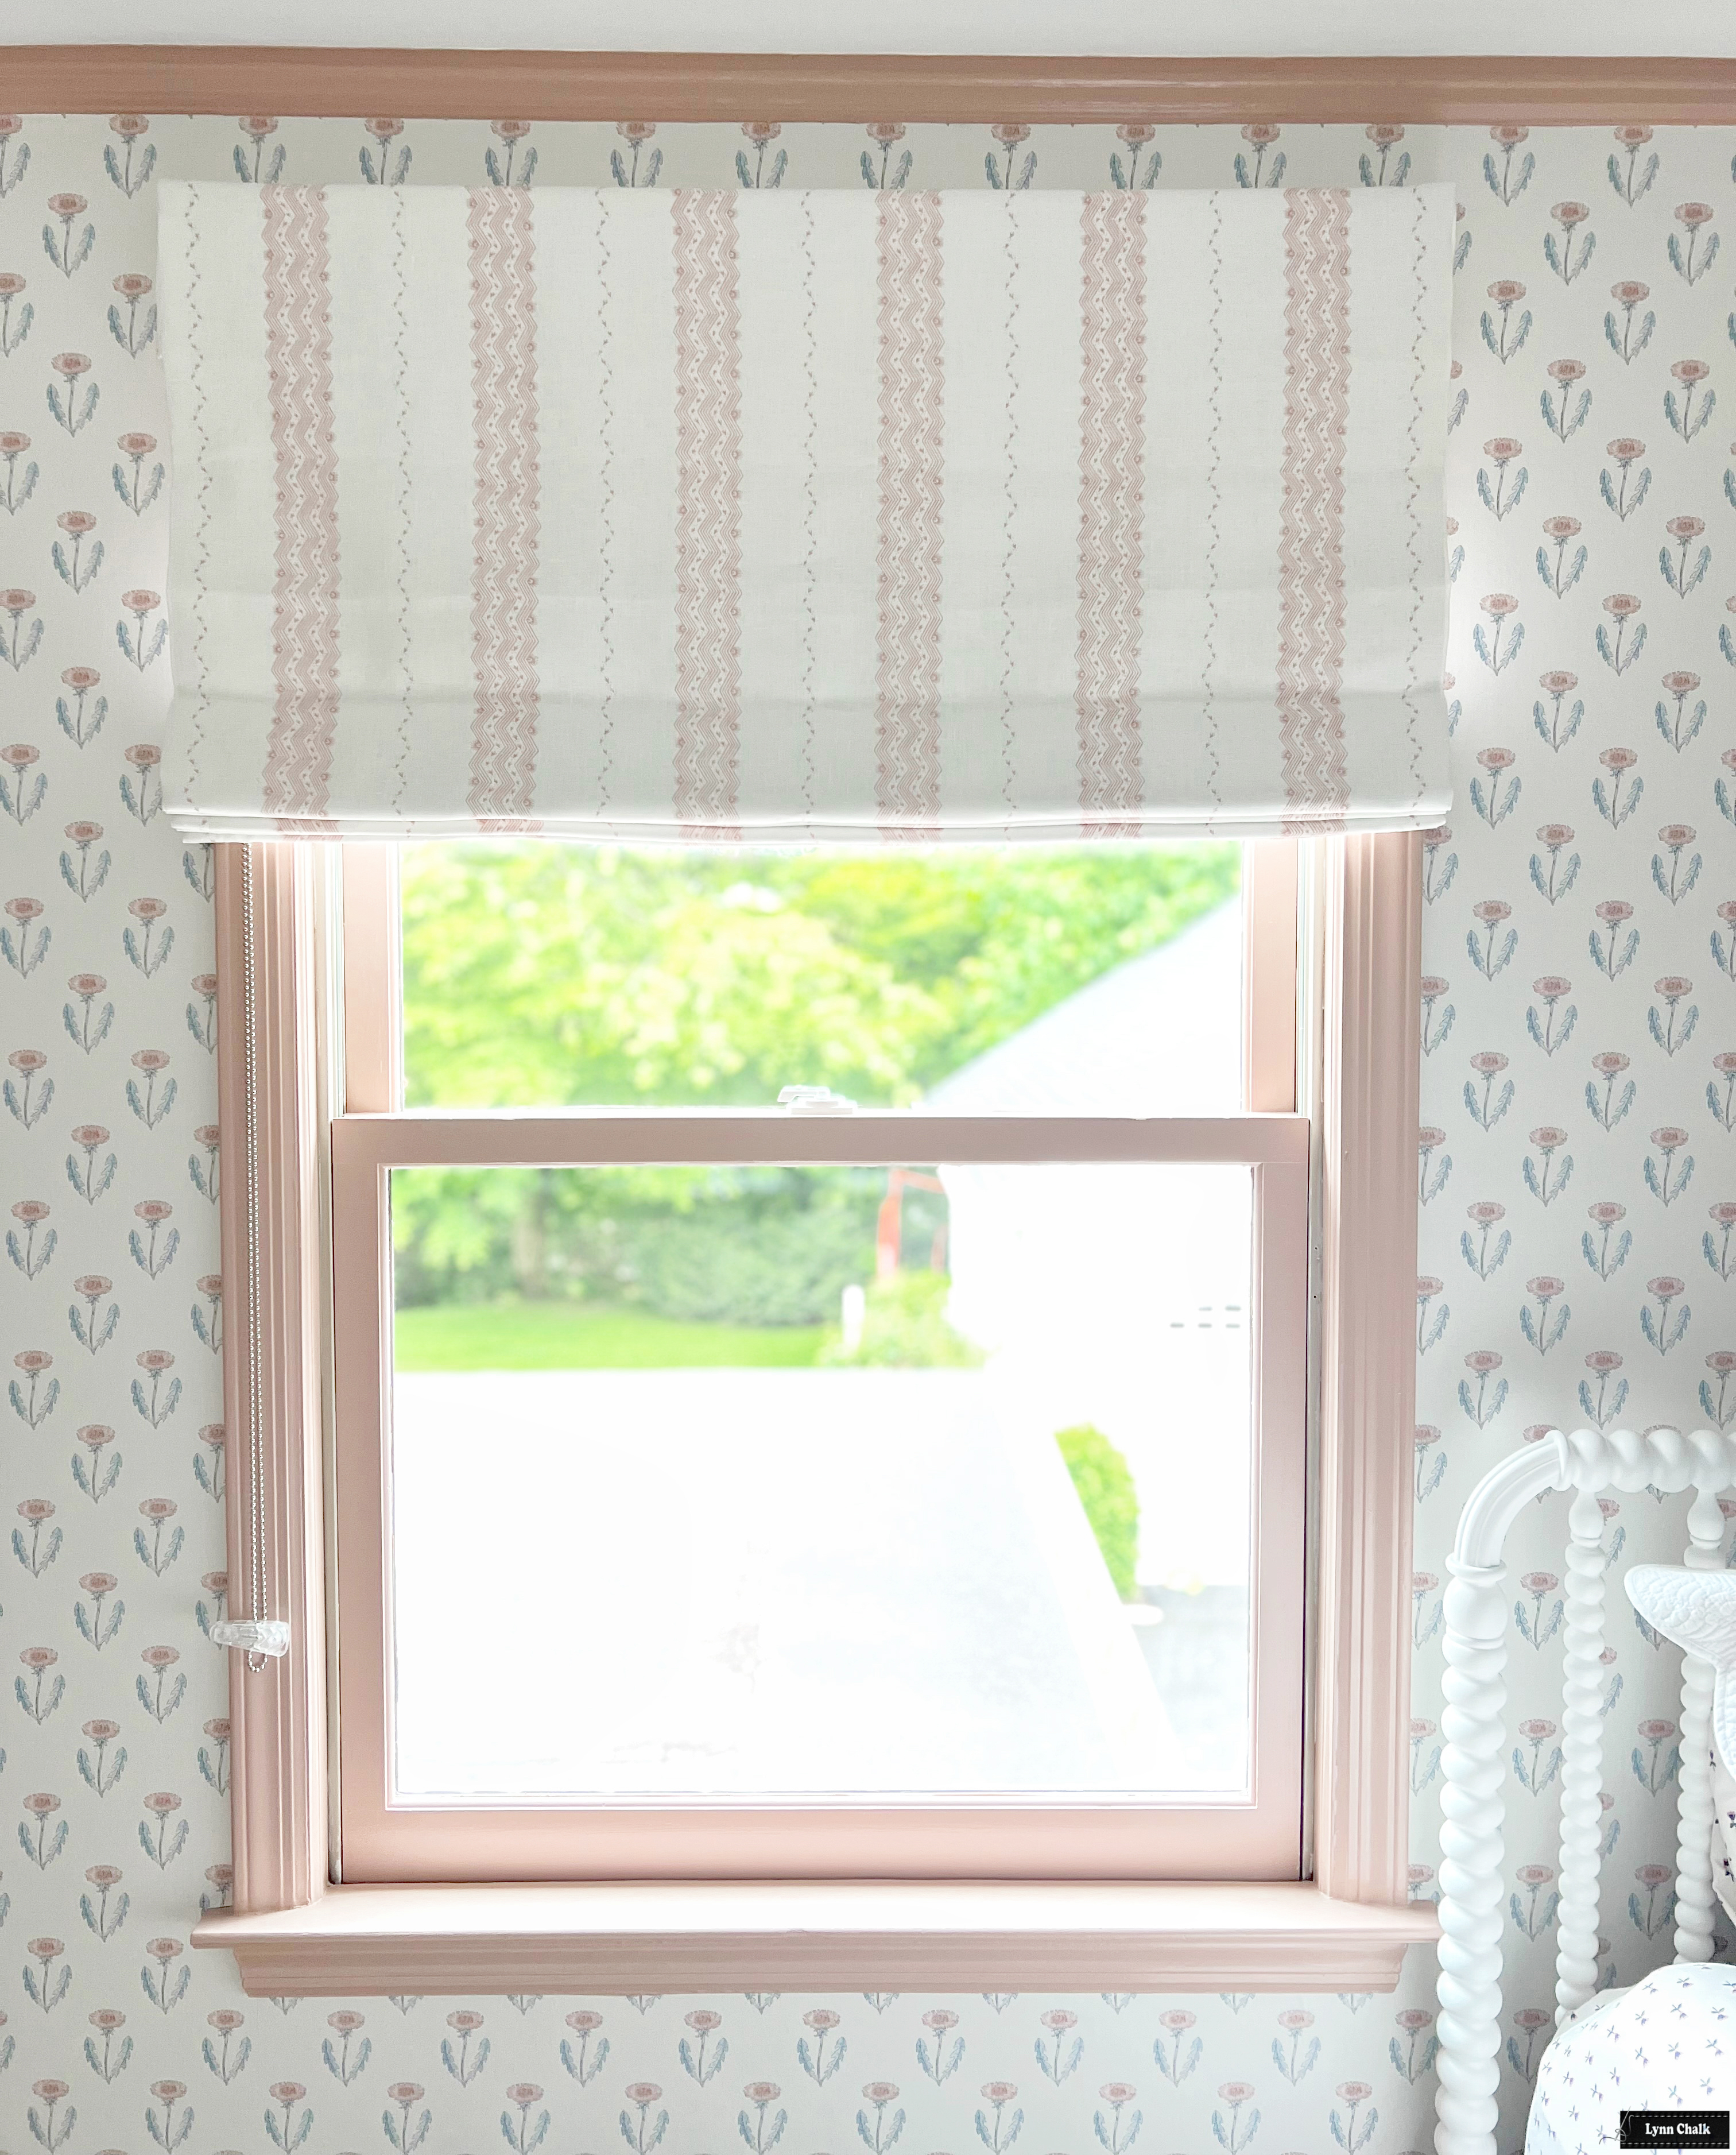
Roman Shade in Schumacher Schumacher Nauset Stripe Blush Pink
This roman shade extends 1” past each side of the window. It is mounted several inches above the window casing to make the window feel taller, but also allows for more of the roman shade fabric to be visible when the shade is up and at the same time does not block too much glass. This allows more light into the room when the shade is up.
There is plenty of wall space above the roman shade to show off the wallpaper.
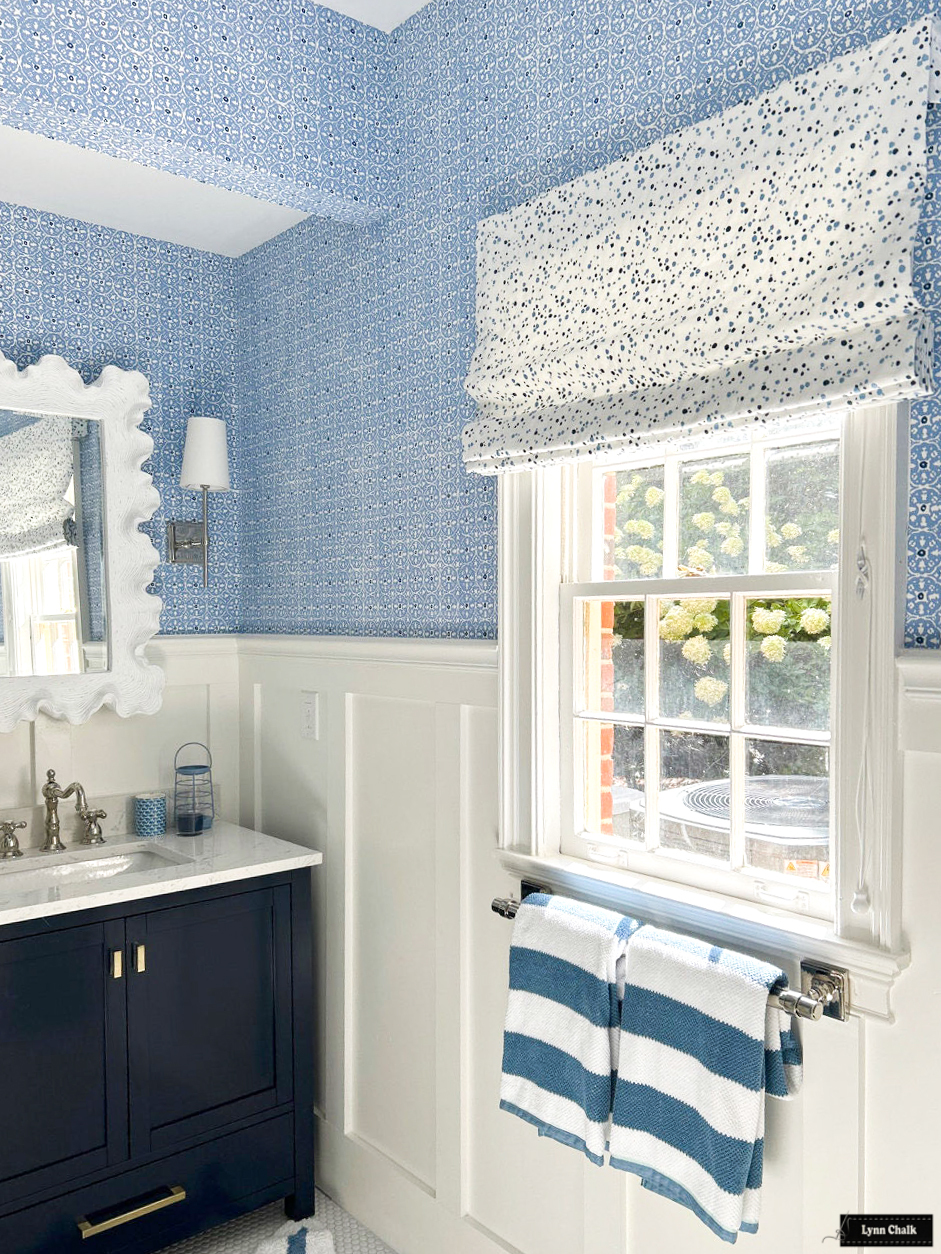
Schumacher Skittles Blueberry Roman Shade with Quadrille Nitik Wallpaper Blue Bathroom
This roman shade is mounted to the ceiling. There was minimal wall space above the window, so mounting it to the ceiling was the best option for a nice clean look. To accommodate the Continuous Cord Loop Clutch System you need to mount the top of the roman shade at least 4” above the window casing.
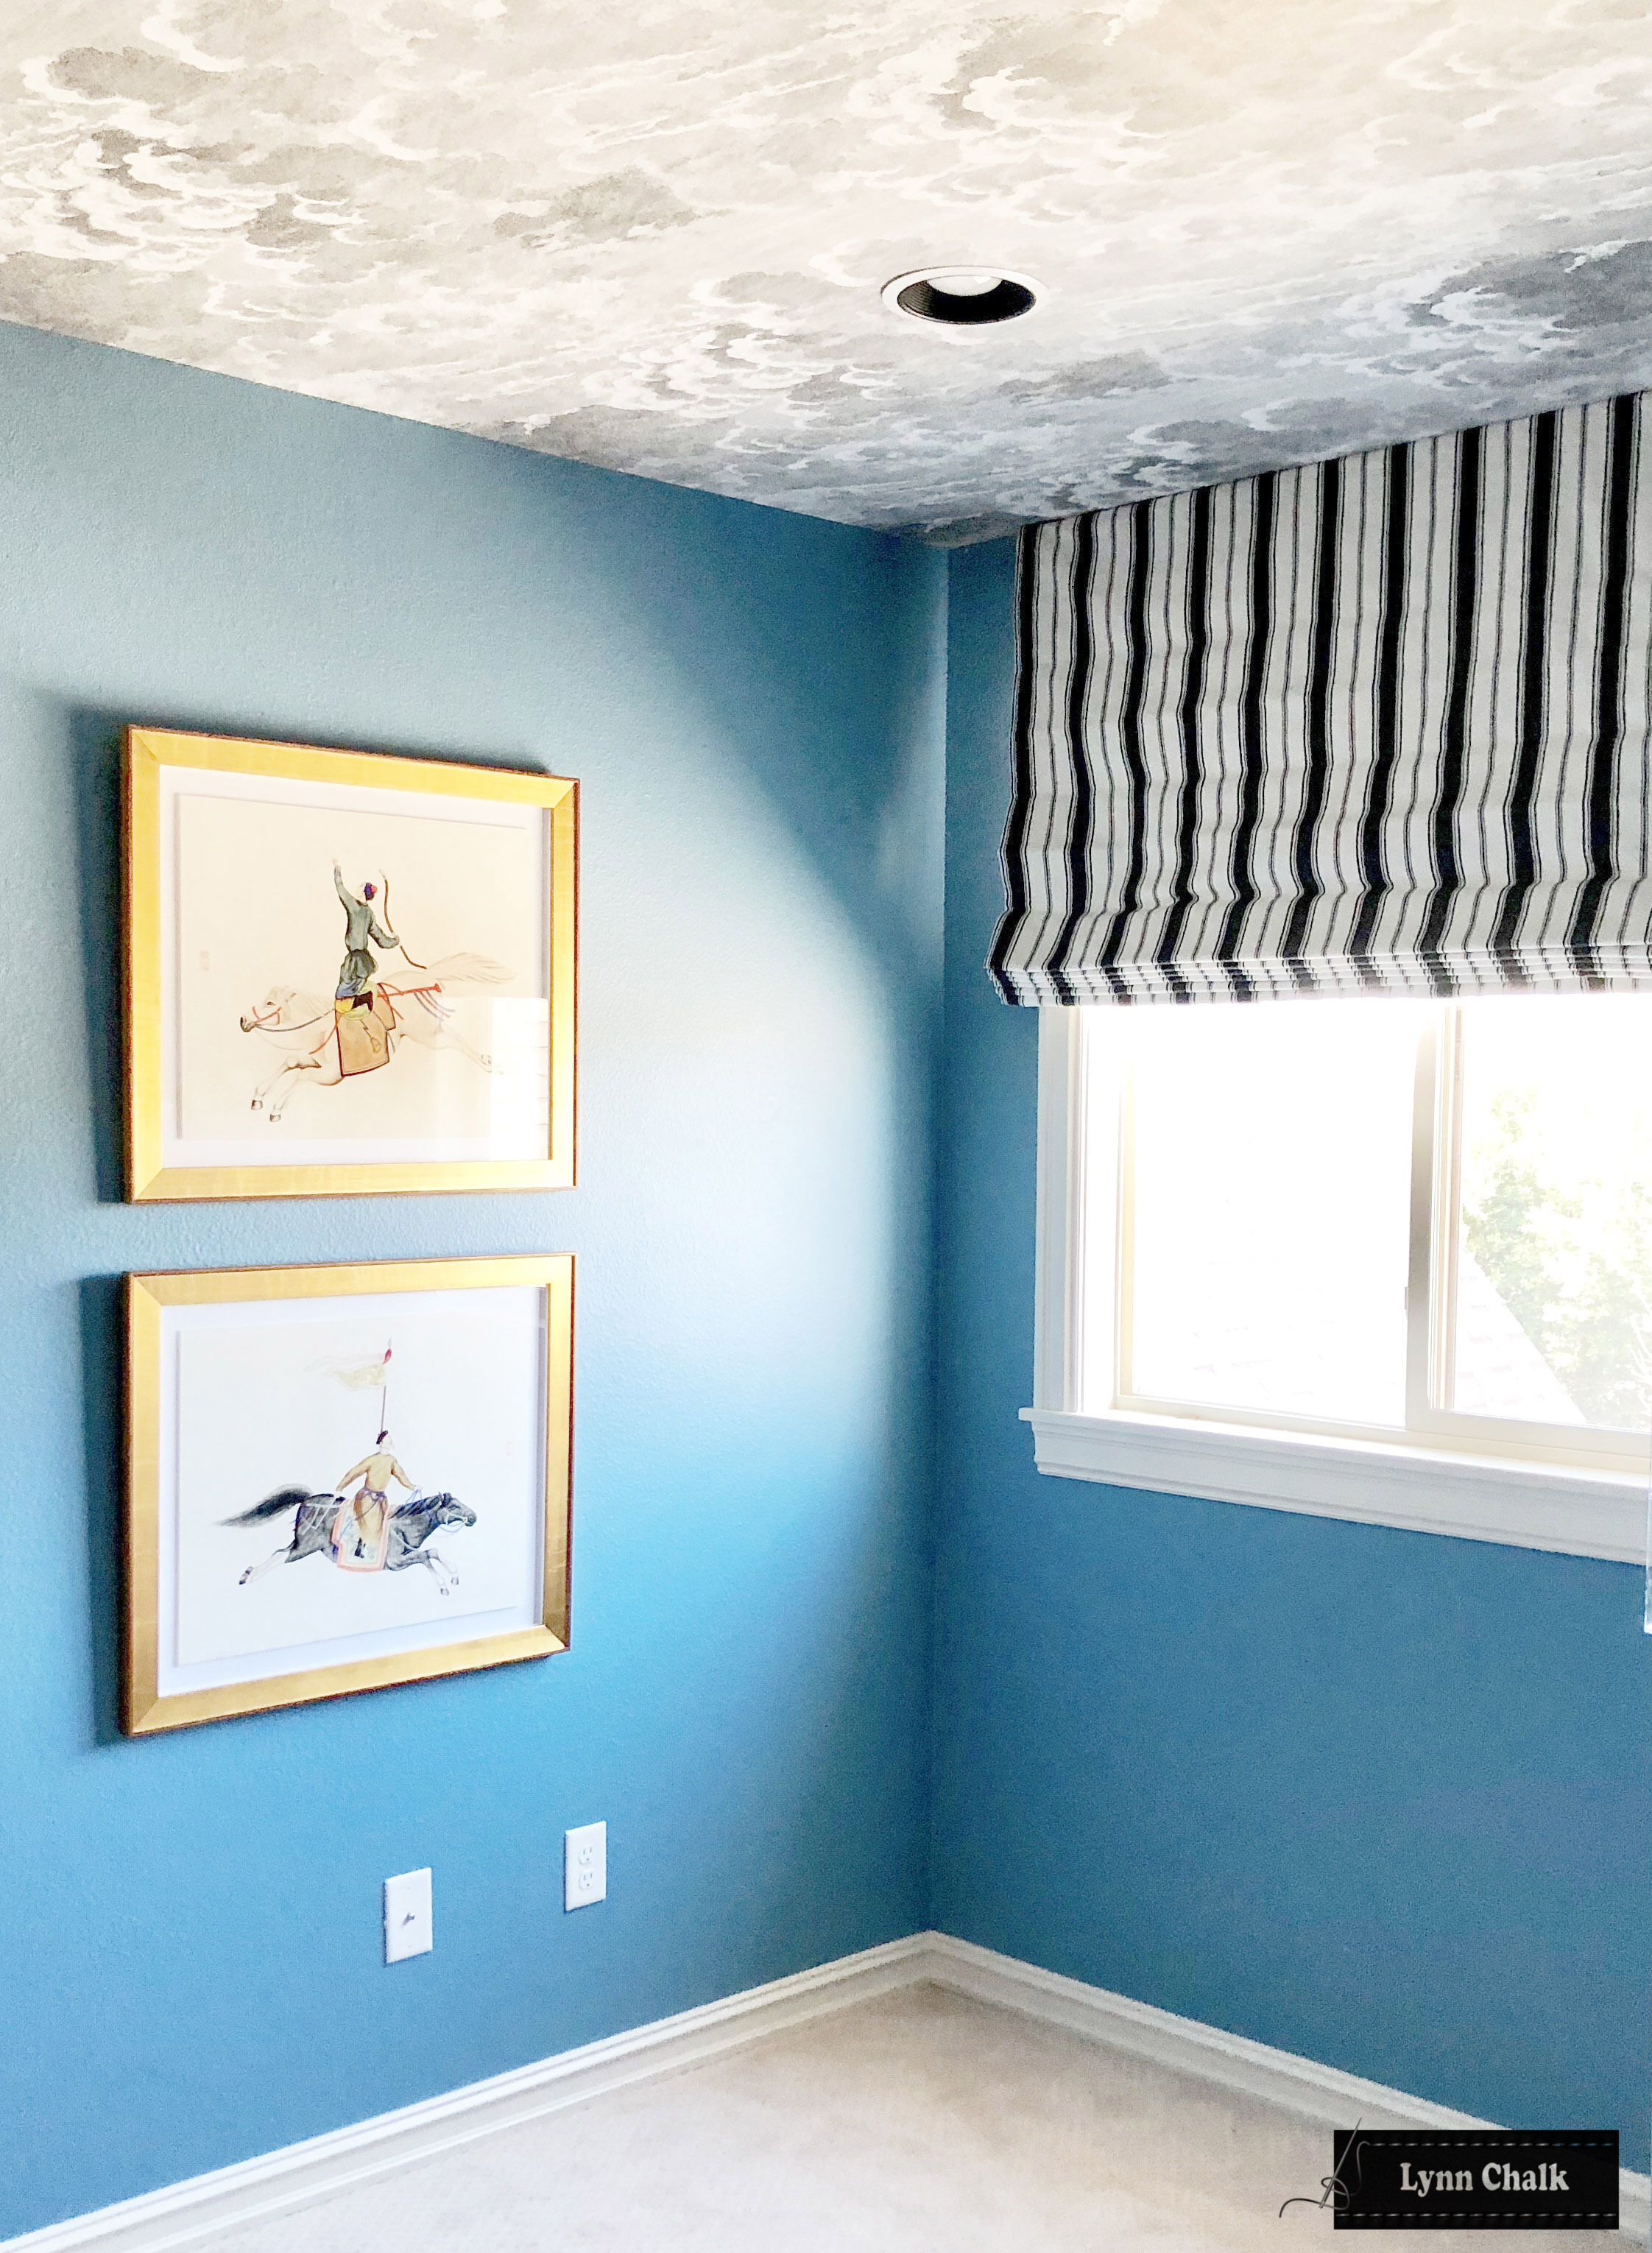
Roman Shade in Giardino Branca Stripe Noir with Cole & Son Nuvole Storm Wallpaper on ceiling
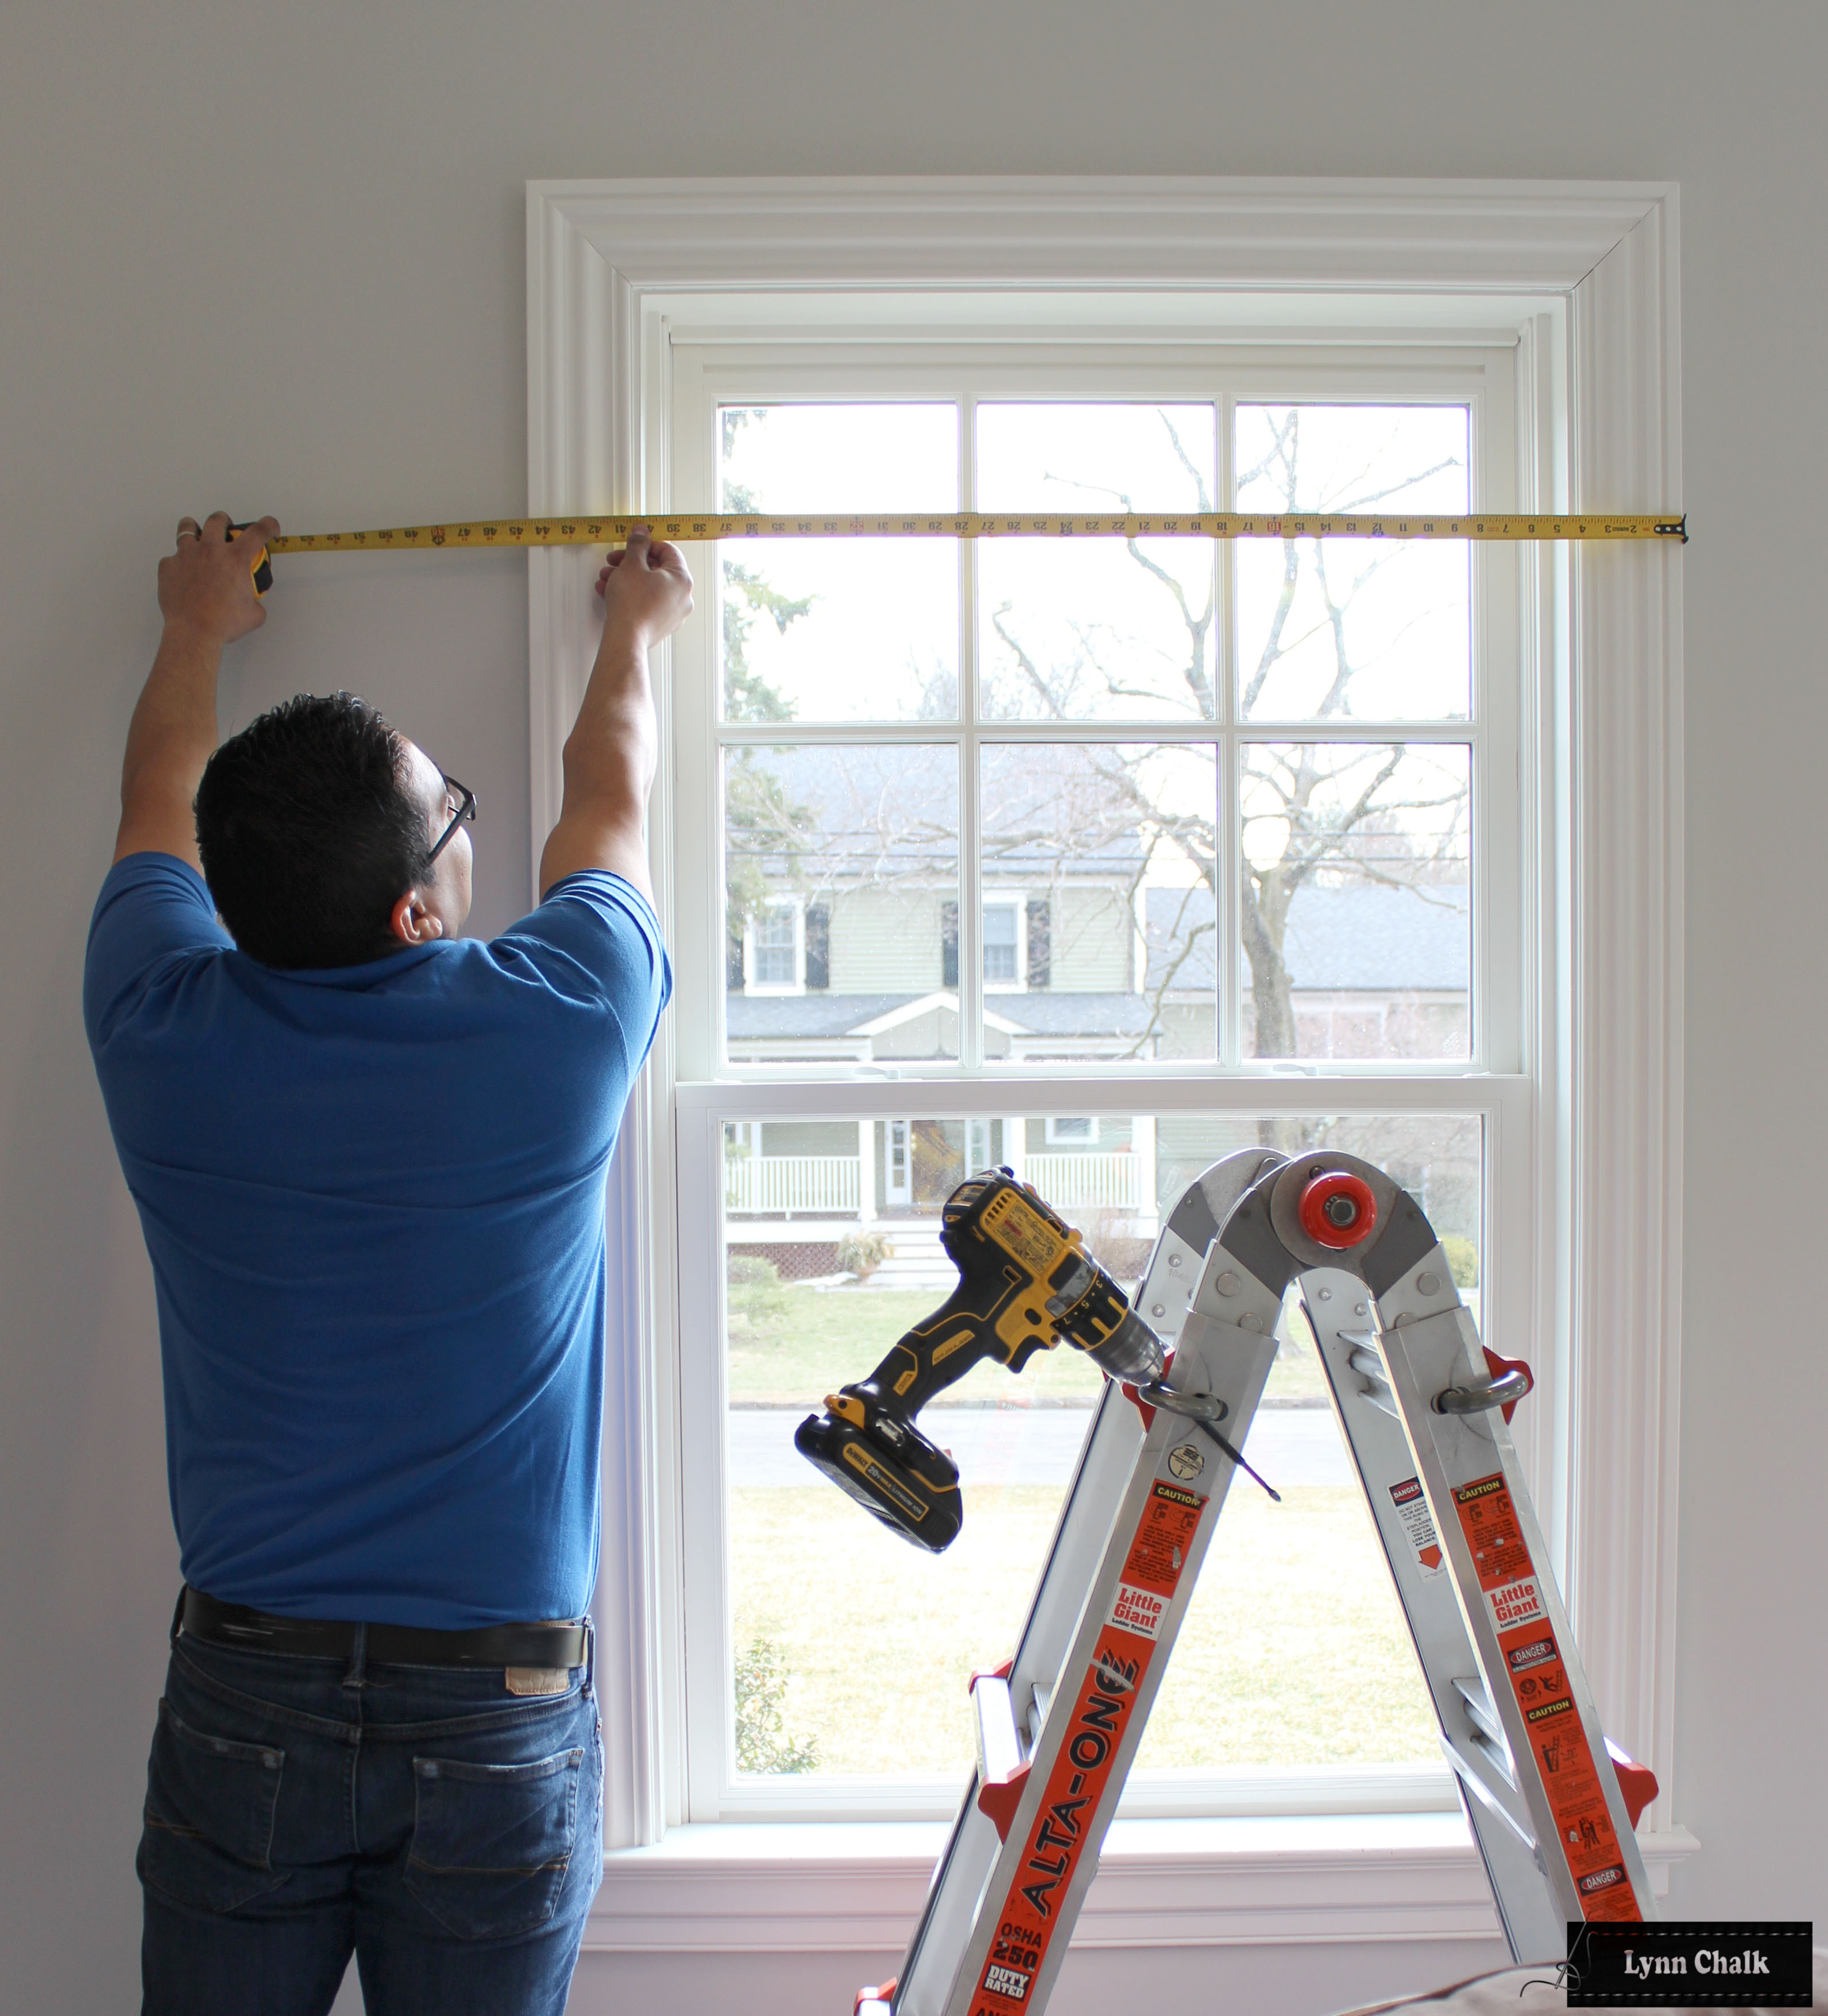
Measure the width of the window casing from the left outside edge to the right outside edge. Measure the top, center and bottom width of the window. If the measurements are slightly different, mounting the shade outside the window will hide any imperfections or slight differences in the measurements.
The roman shade can be the exact width of the window casing. If you have wall space on both sides of the window casing, the roman shade can extend ½” to 1”-2” past each side of the window casing. It is a matter of preference. All options are acceptable.
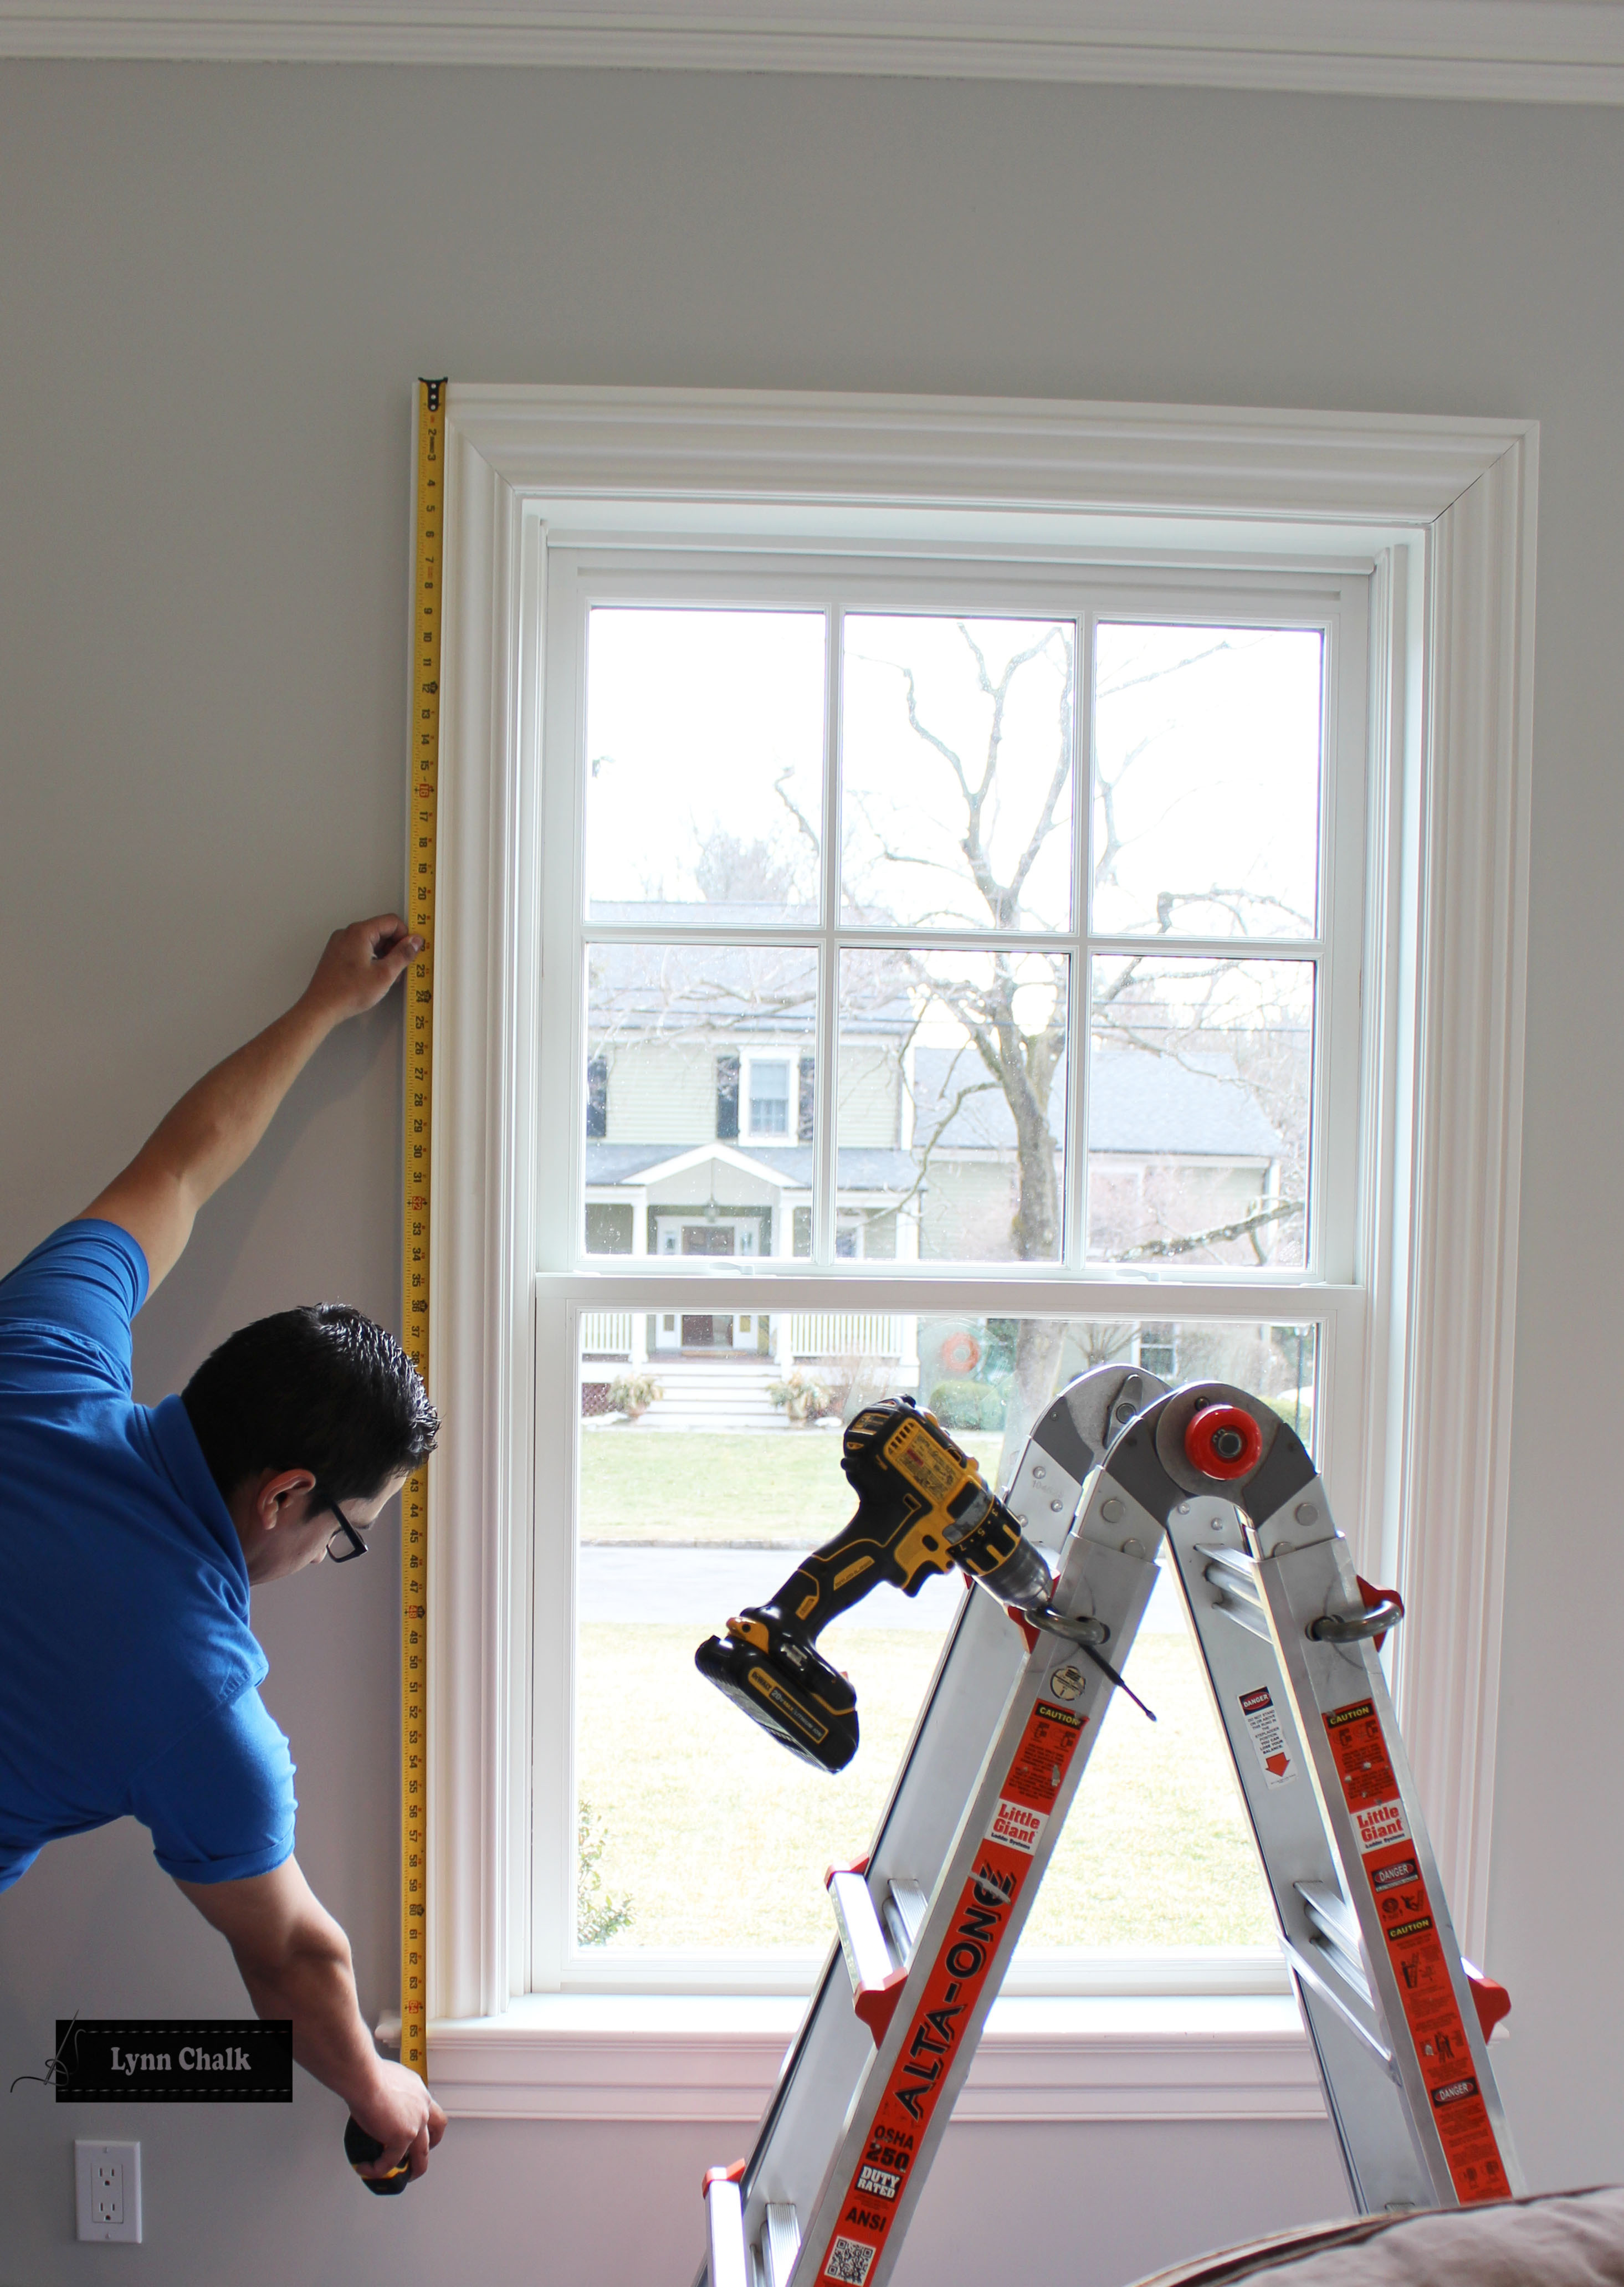
Measure the length of the window from the top of the window casing to the window sill on the right side of the window.
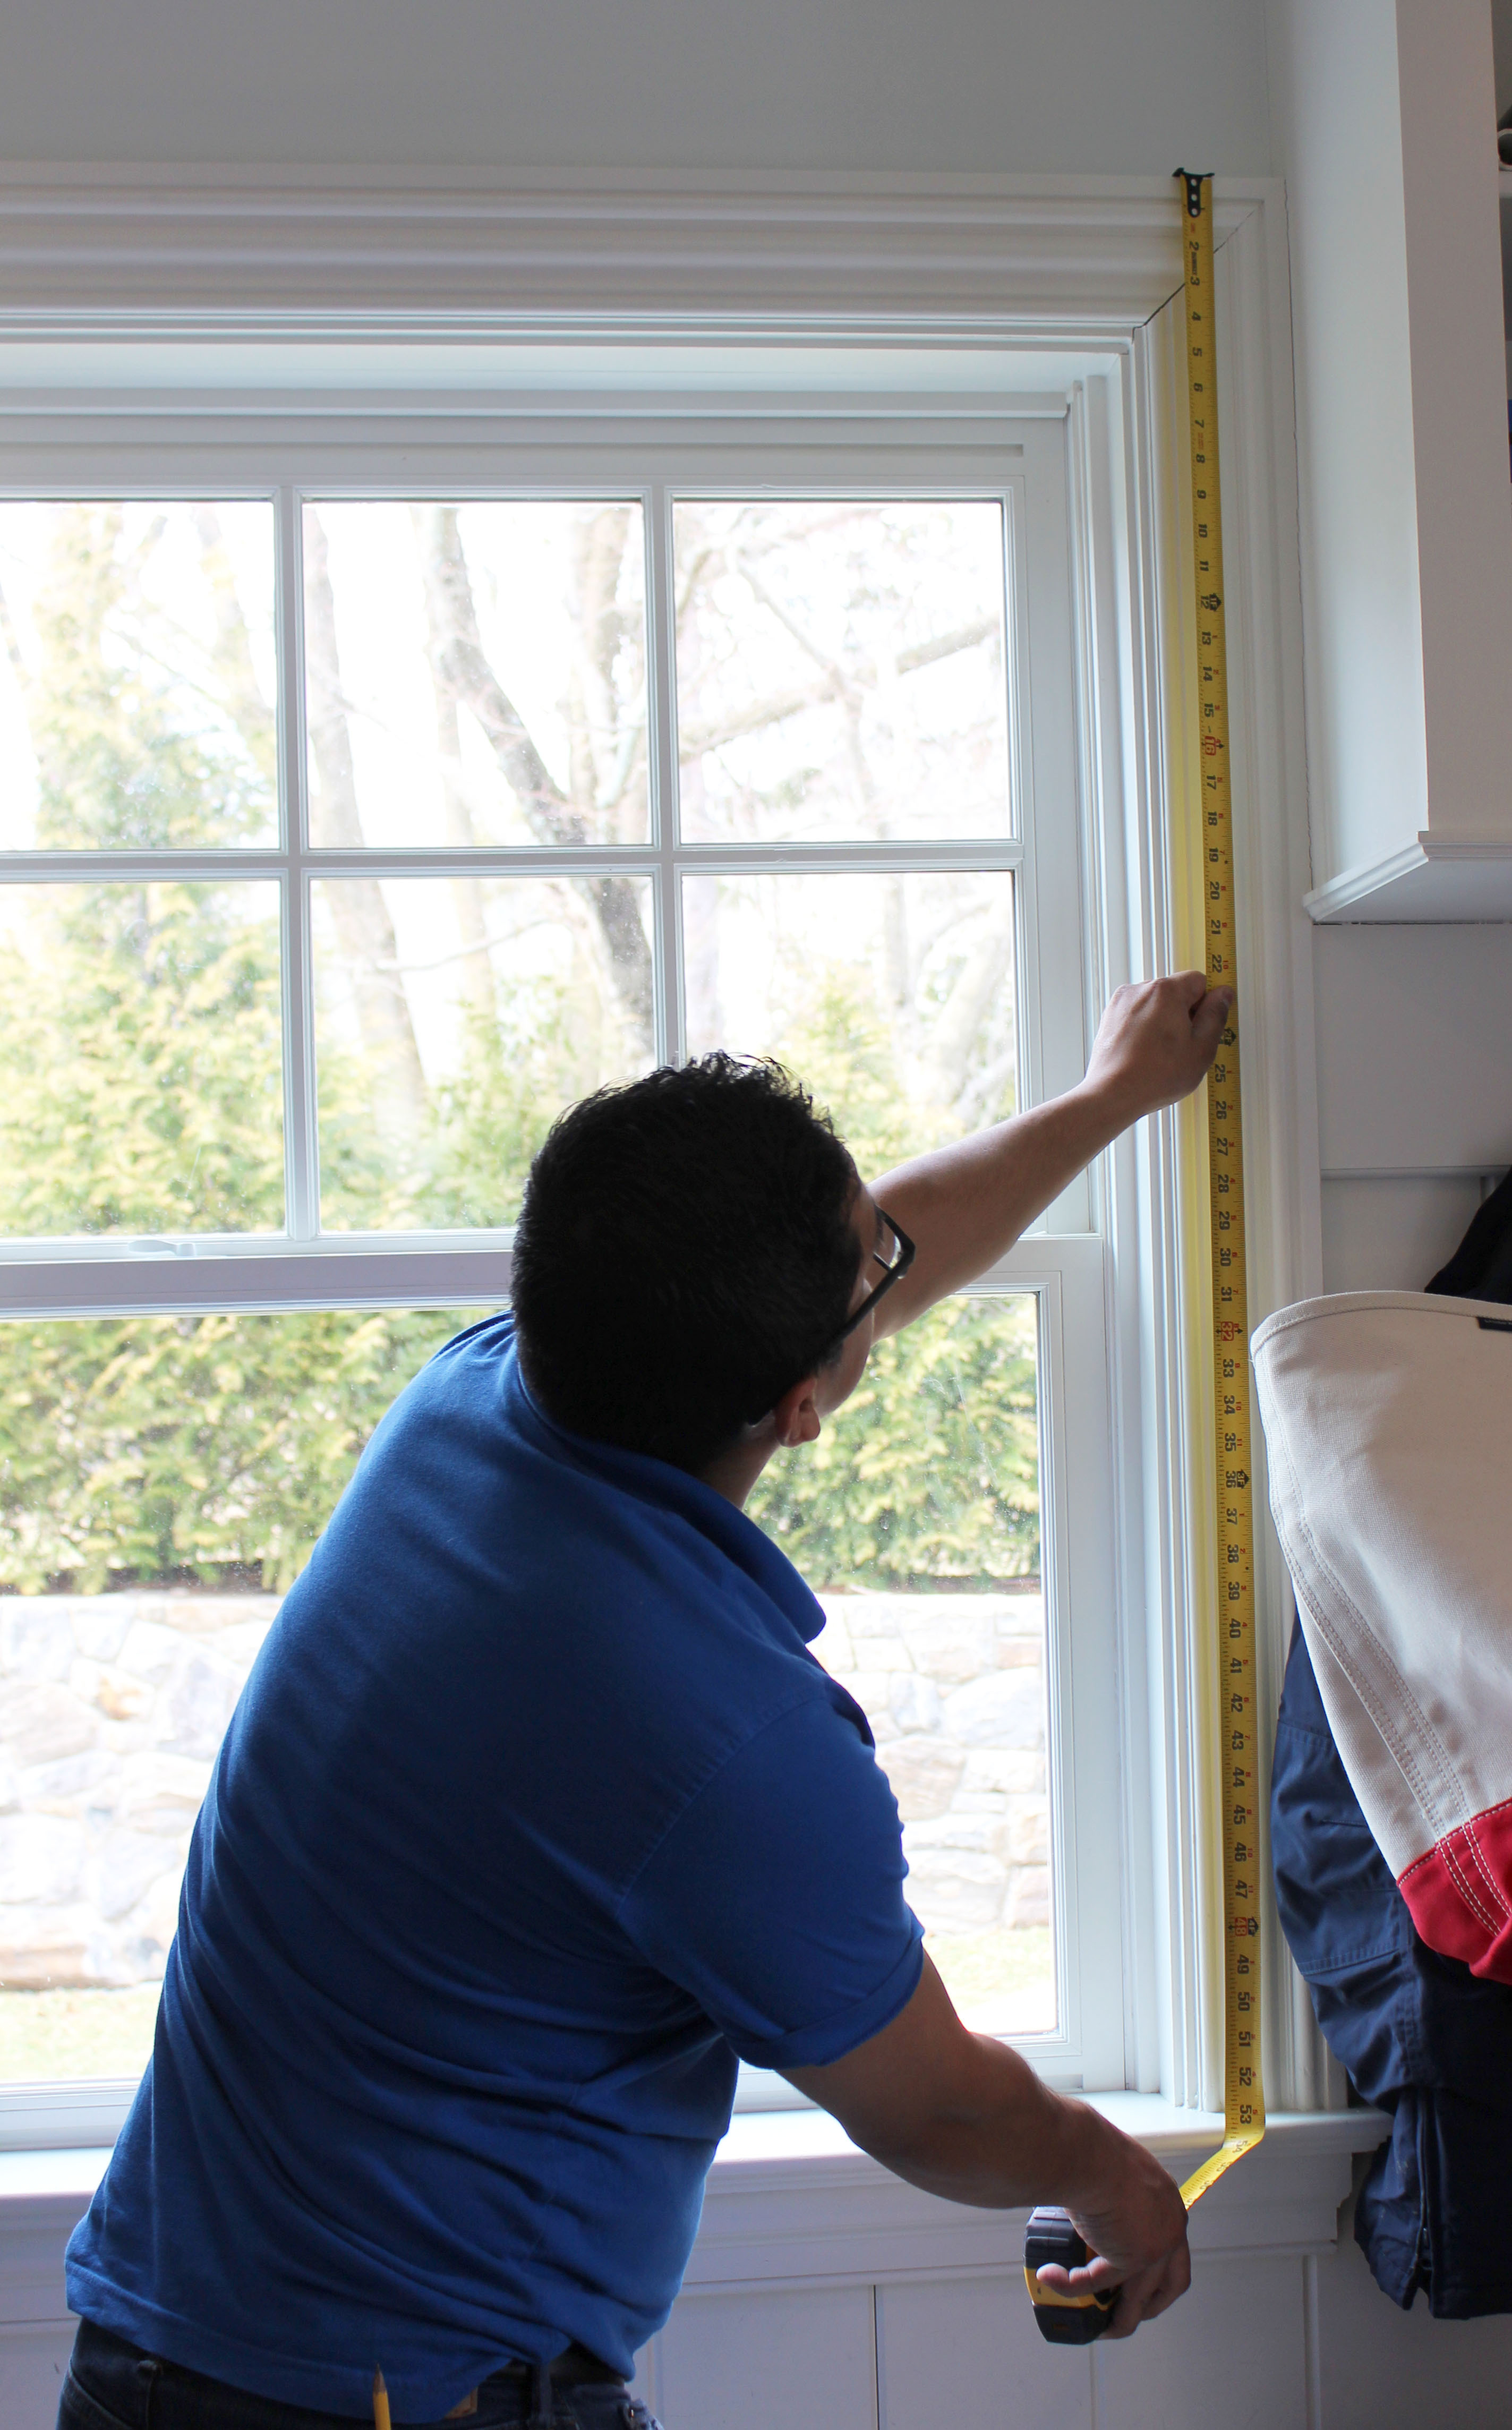
Measure the left side of the window to ensure the window is square. Sometimes in the older homes, the windows are not perfectly square, so an outside mounted shade will hide a slightly crooked window.
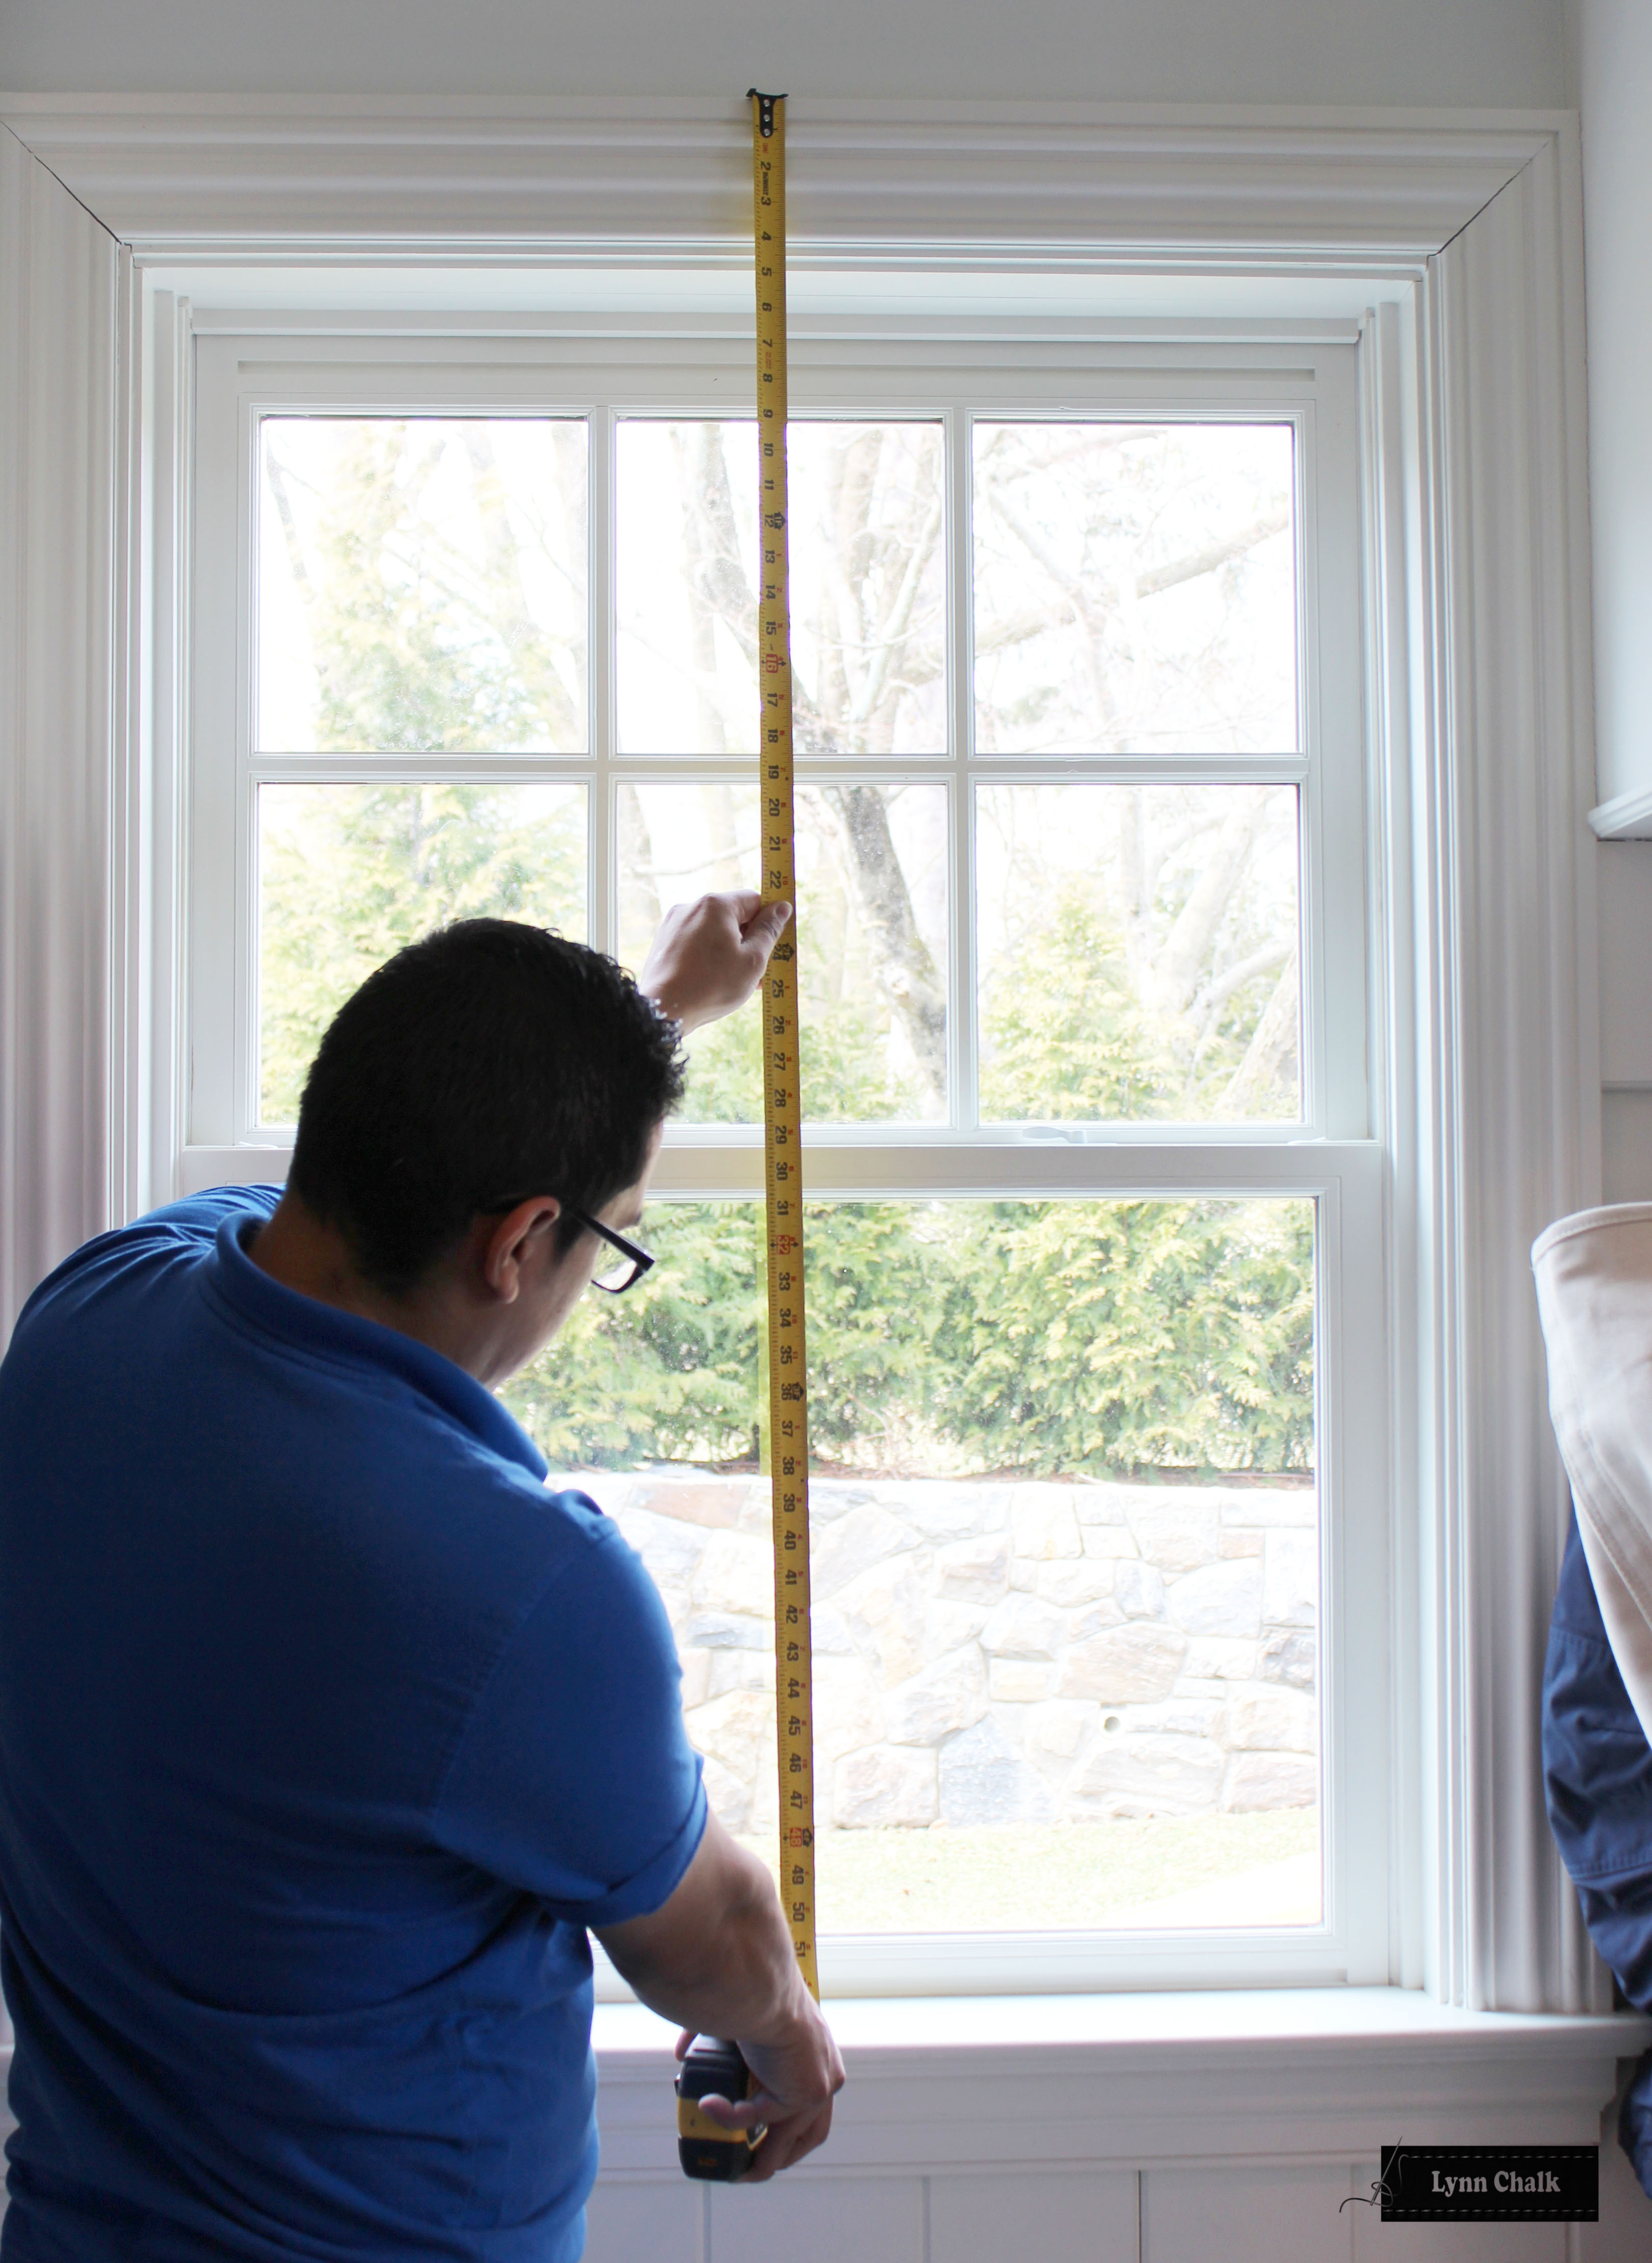
Measure the length of the window from the top of the window casing to the window sill in the center of the window to ensure the window is square and that no adjustments are needed.
If you have a window that does not have a window sill, measure from the top of the window casing to the bottom of the window casing, so the whole casing is covered when the shade is down. This shade was mounted several inches above the window casing, and the width was extended 2” on each side to minimize light gaps since the bed was right next to the window.
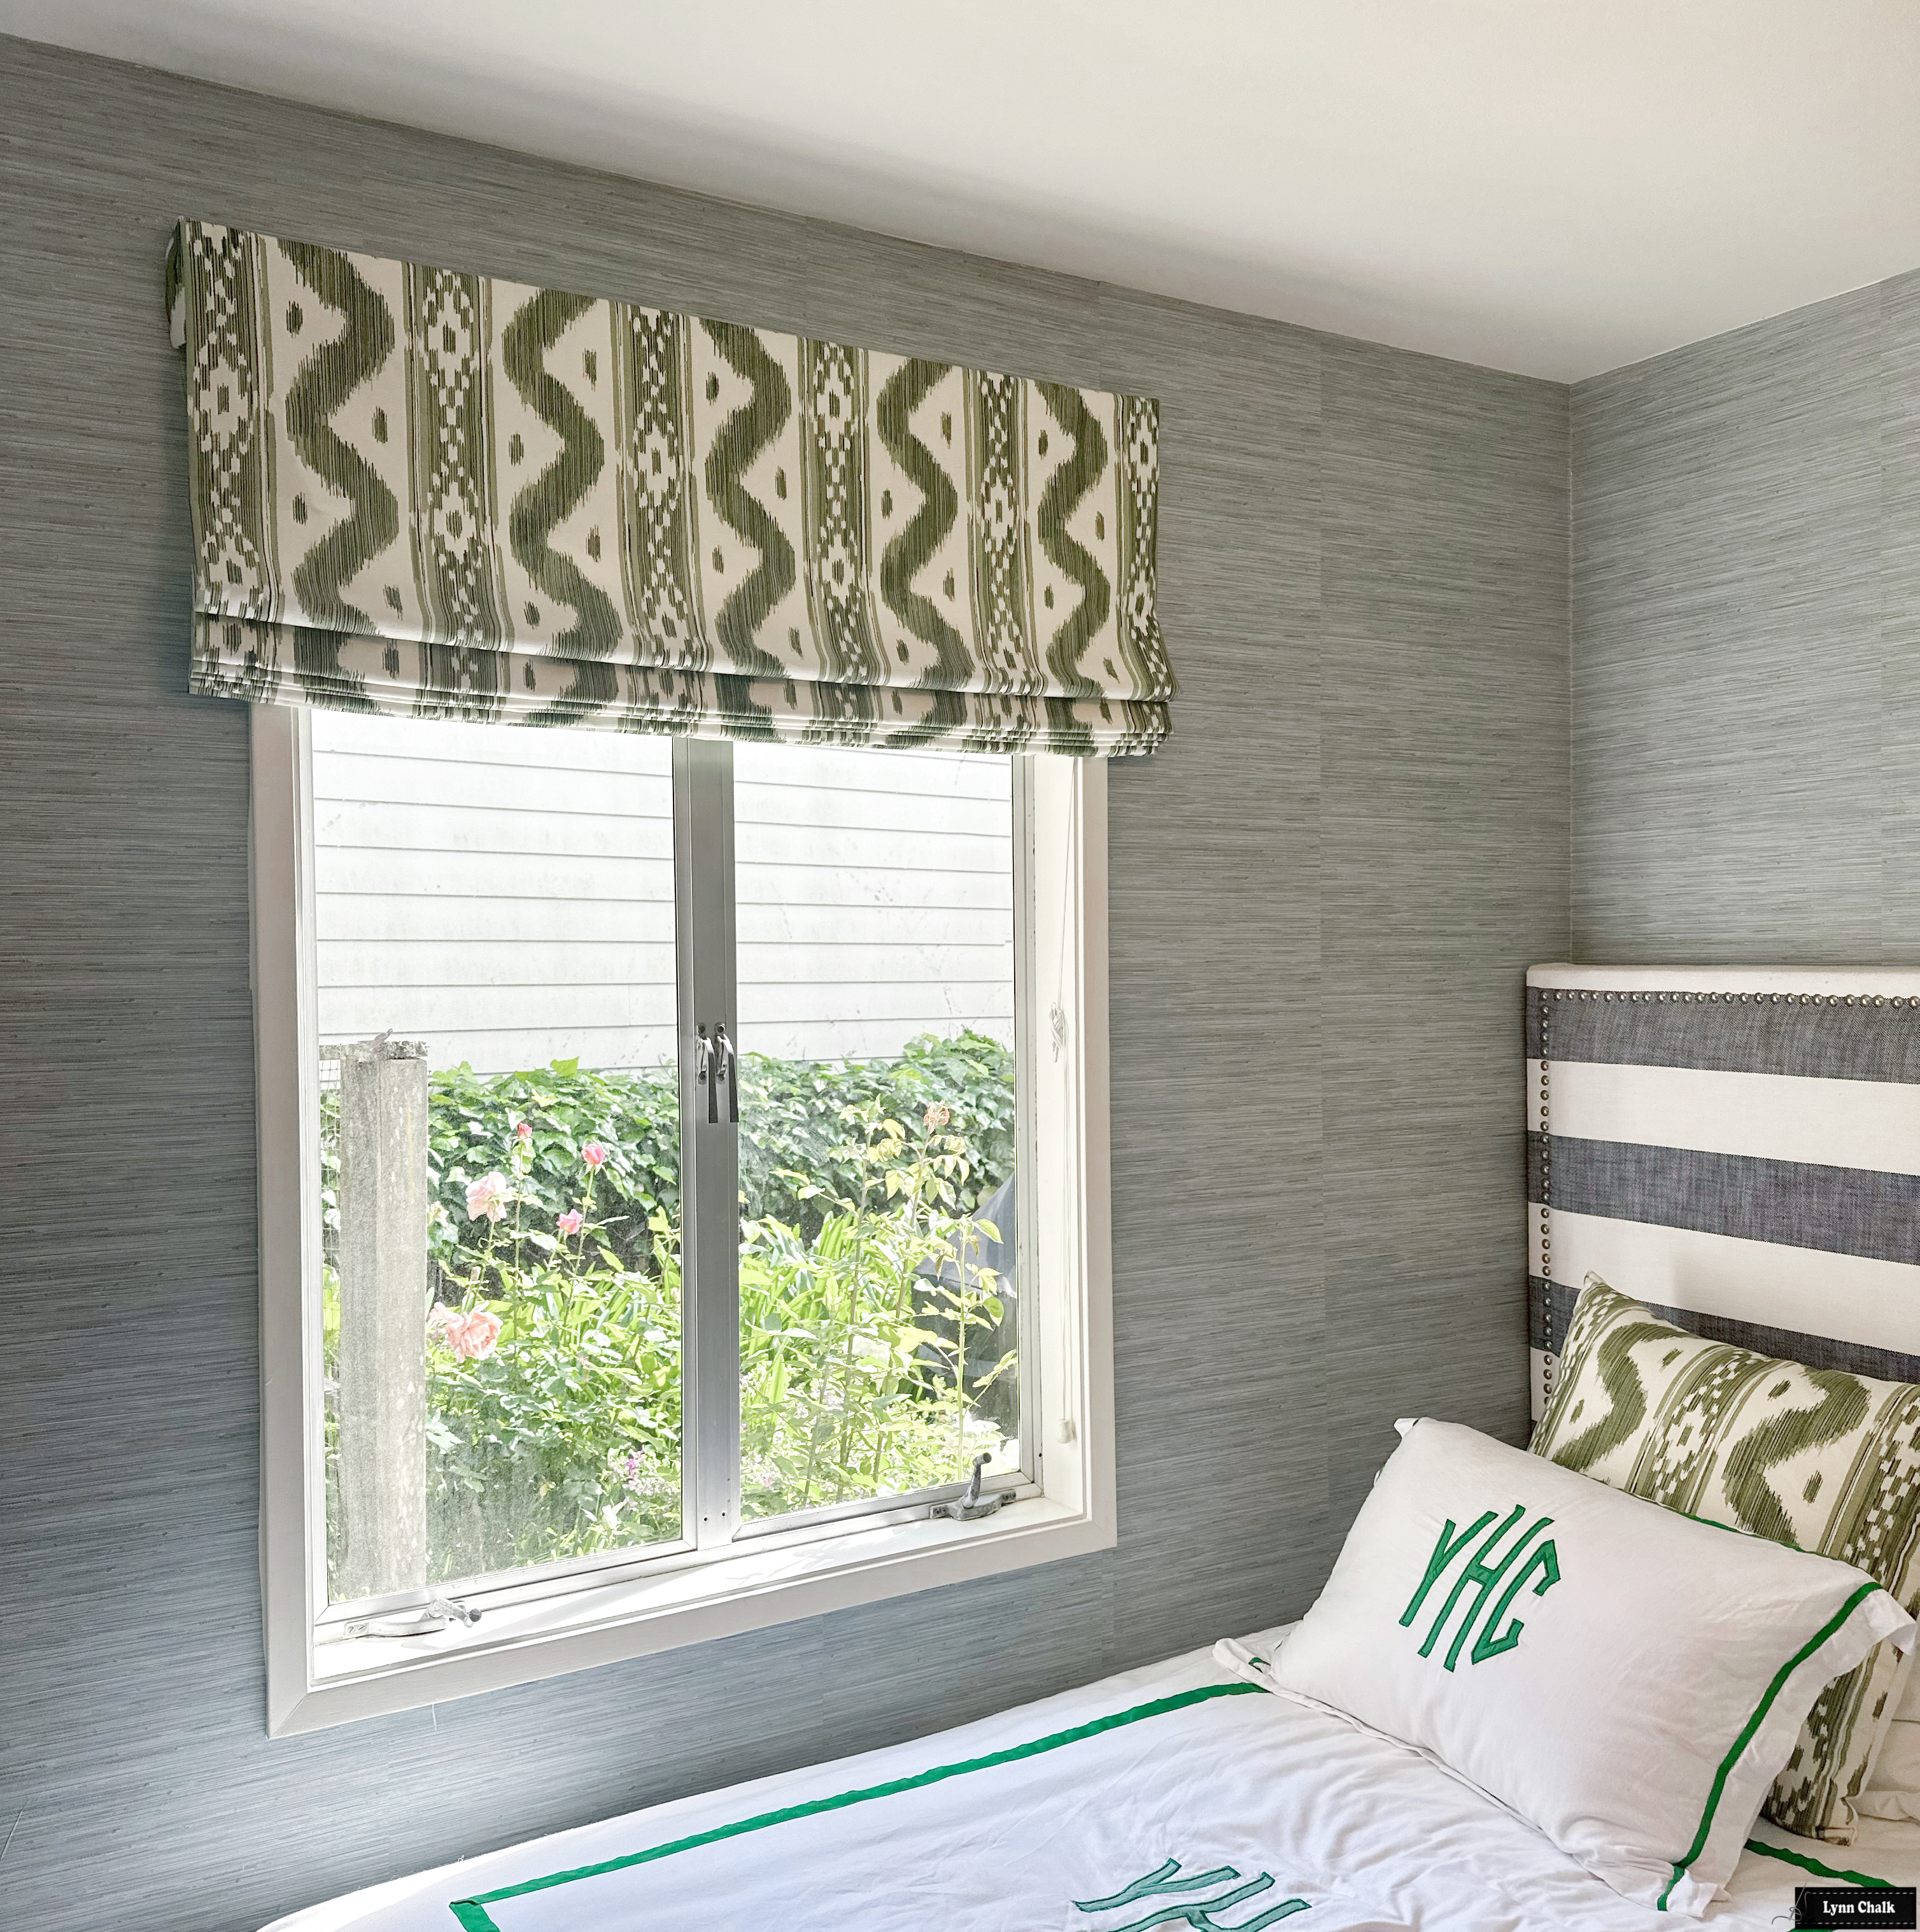
Roman Shade and Pillow in Quadrille Bali Hai Sea Green on Tint
For outside mounted roman shades on windows that have no window casing, measure the inside length and width of the window. I would recommend mounting the roman shade at least 4” plus above the window.
The shade should be 1”to 2” wider than the window since it has no window casing.
The length of the roman shade should extend about 2” below the bottom of the window when it is fully down since there is no window casing.
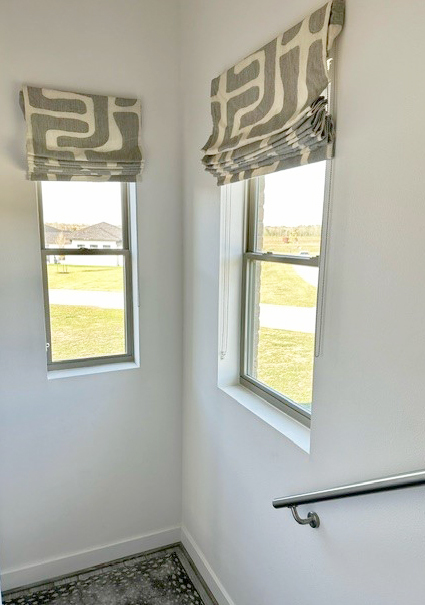
Roman Shades in Linherr Hollingsworth for Lee Jofa in Oui Grande Gris
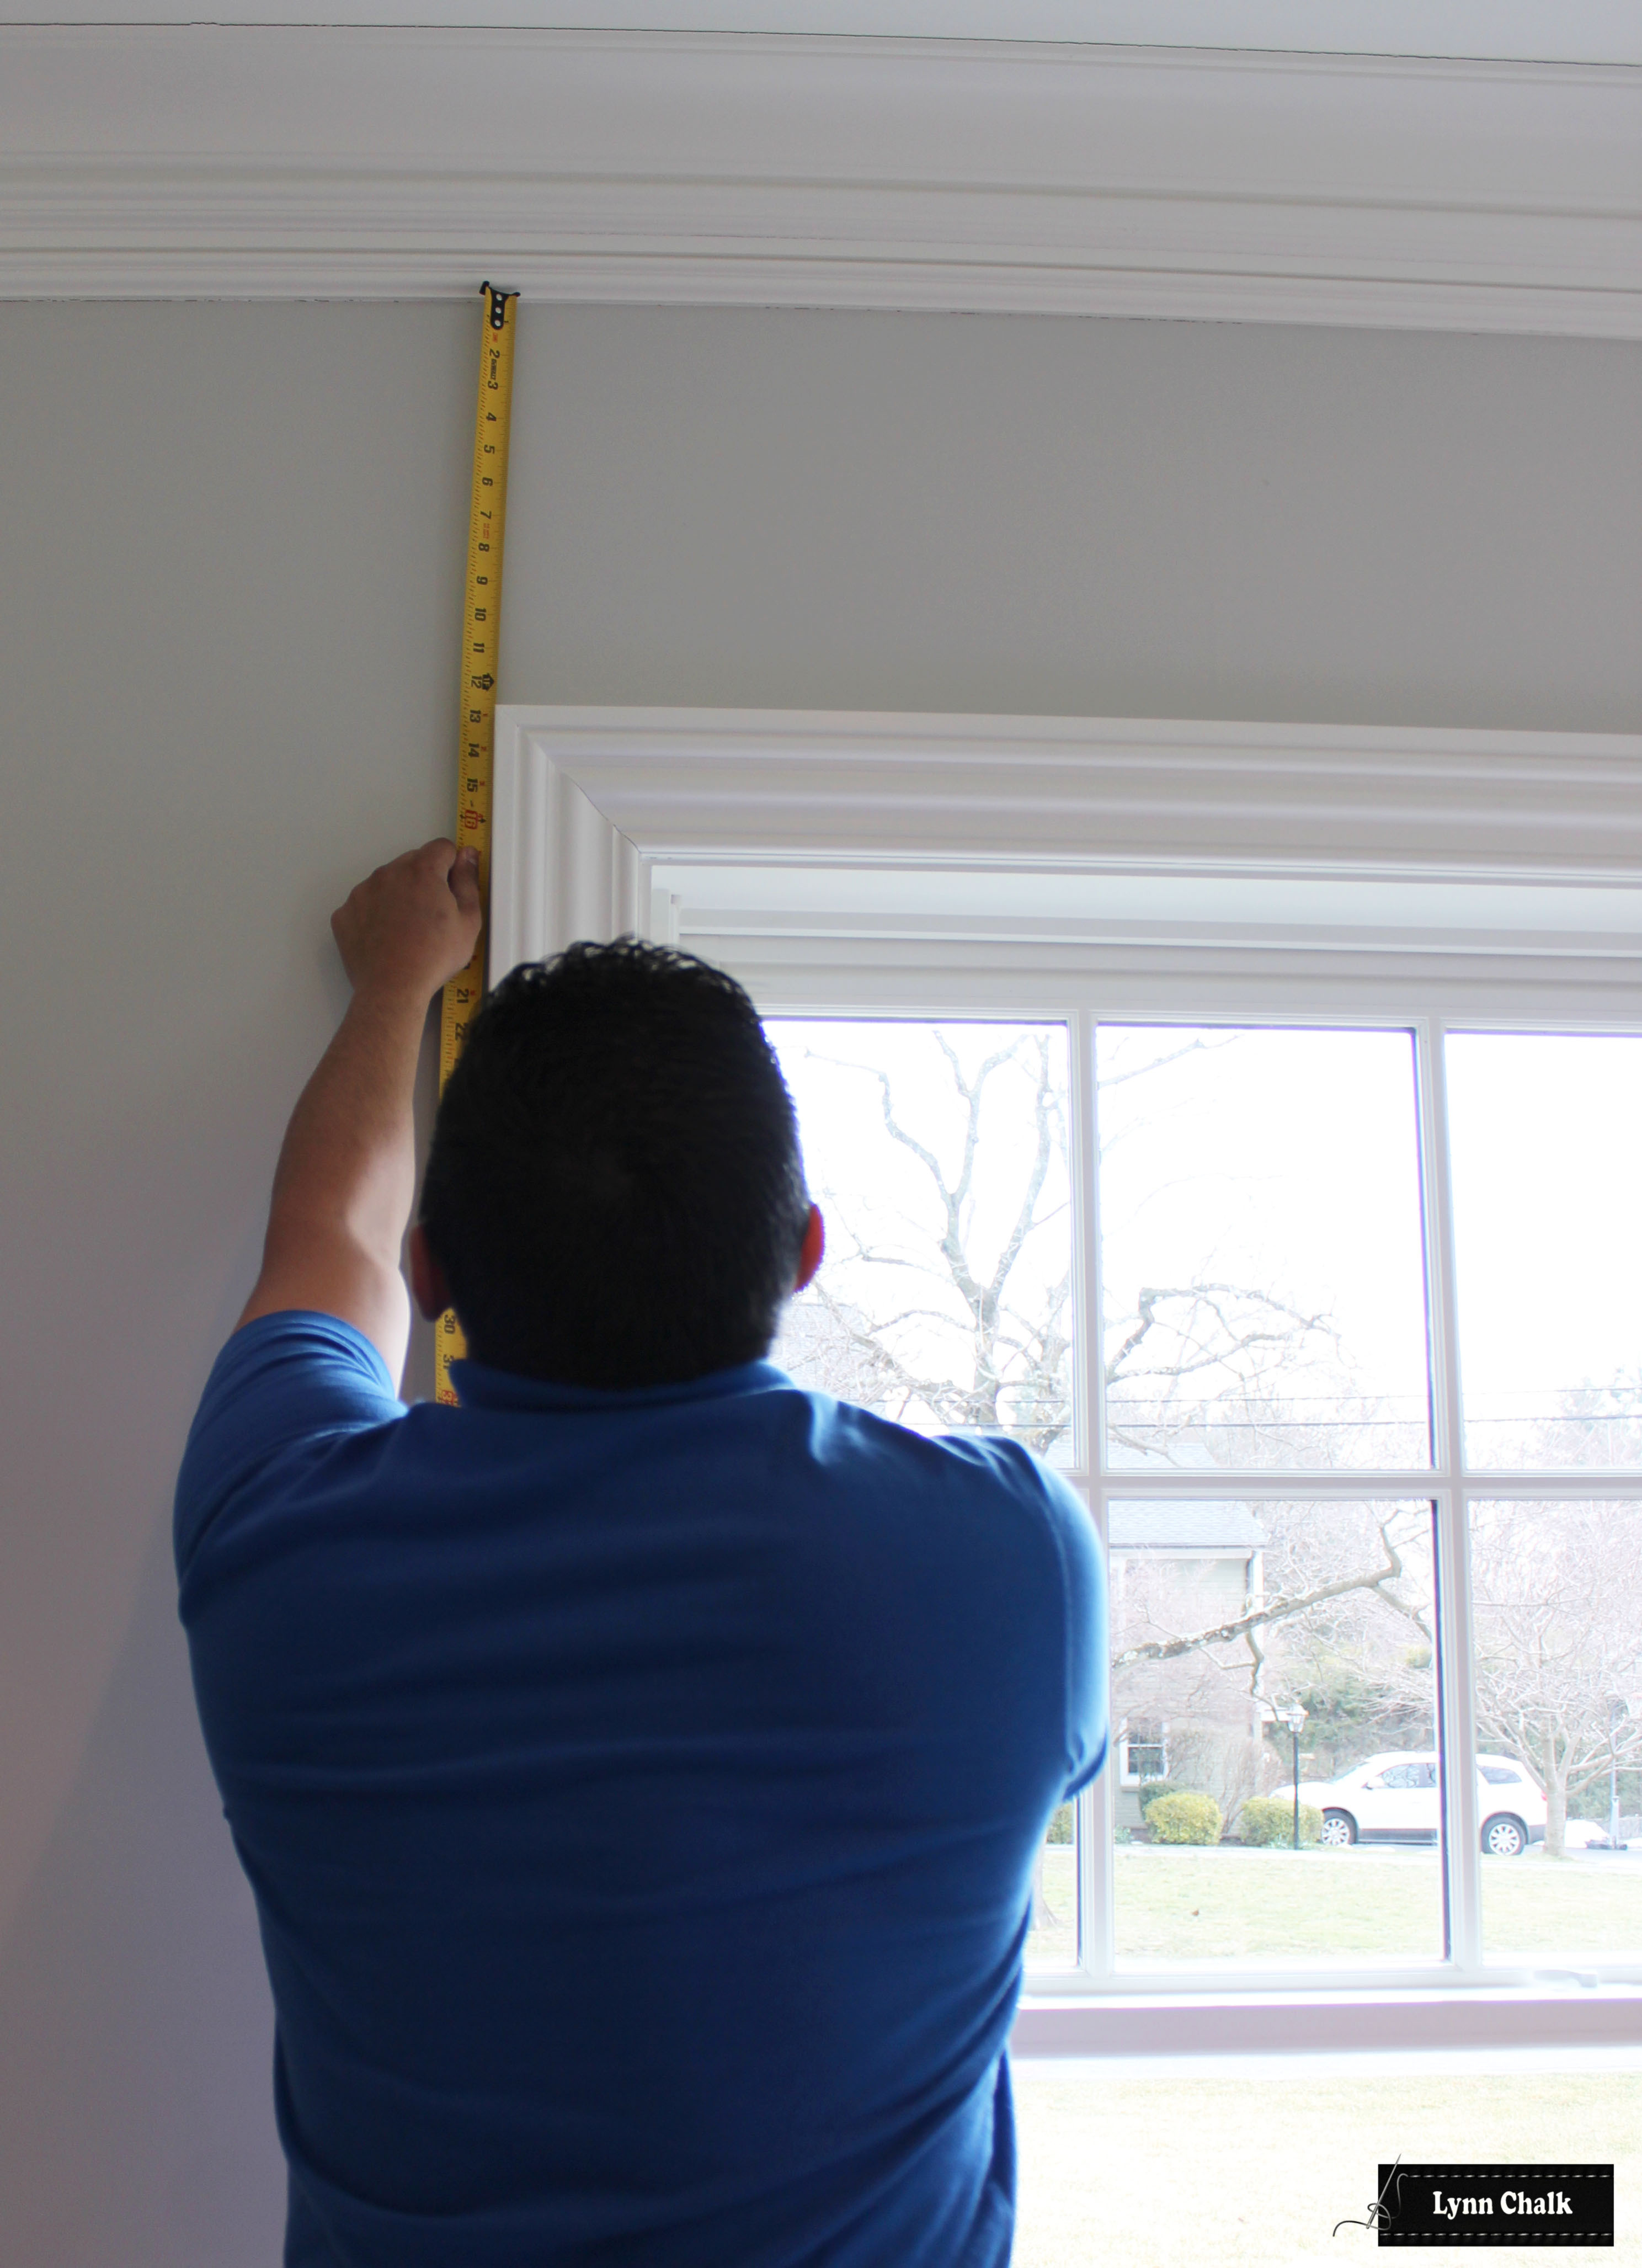
In order to determine how high above the window you would like to mount the top of the roman shade, measure from the top of the window casing to the bottom of the crown molding (or ceiling if there is no crown molding).
In order to accommodate the Continuous Cord Loop Clutch lifting mechanism on the board, you need to mount the roman shade board at least 4” above the window casing. If you have more room and would like to mount the shade higher you can mount it as high as you would like. This way when the shade is up, more of the shade will stack on the wall allowing more light into the room during the day so the shade does not block as much of the glass. It will also show off more of the fabric design.
If you have less than 4” above your window casing, measure from the window casing to the ceiling or bottom of crown molding.
You can mount the roman shade right to the ceiling as in the above picture of the roman shade in Branca Stripe.
Or you can mount it on top of the window casing.
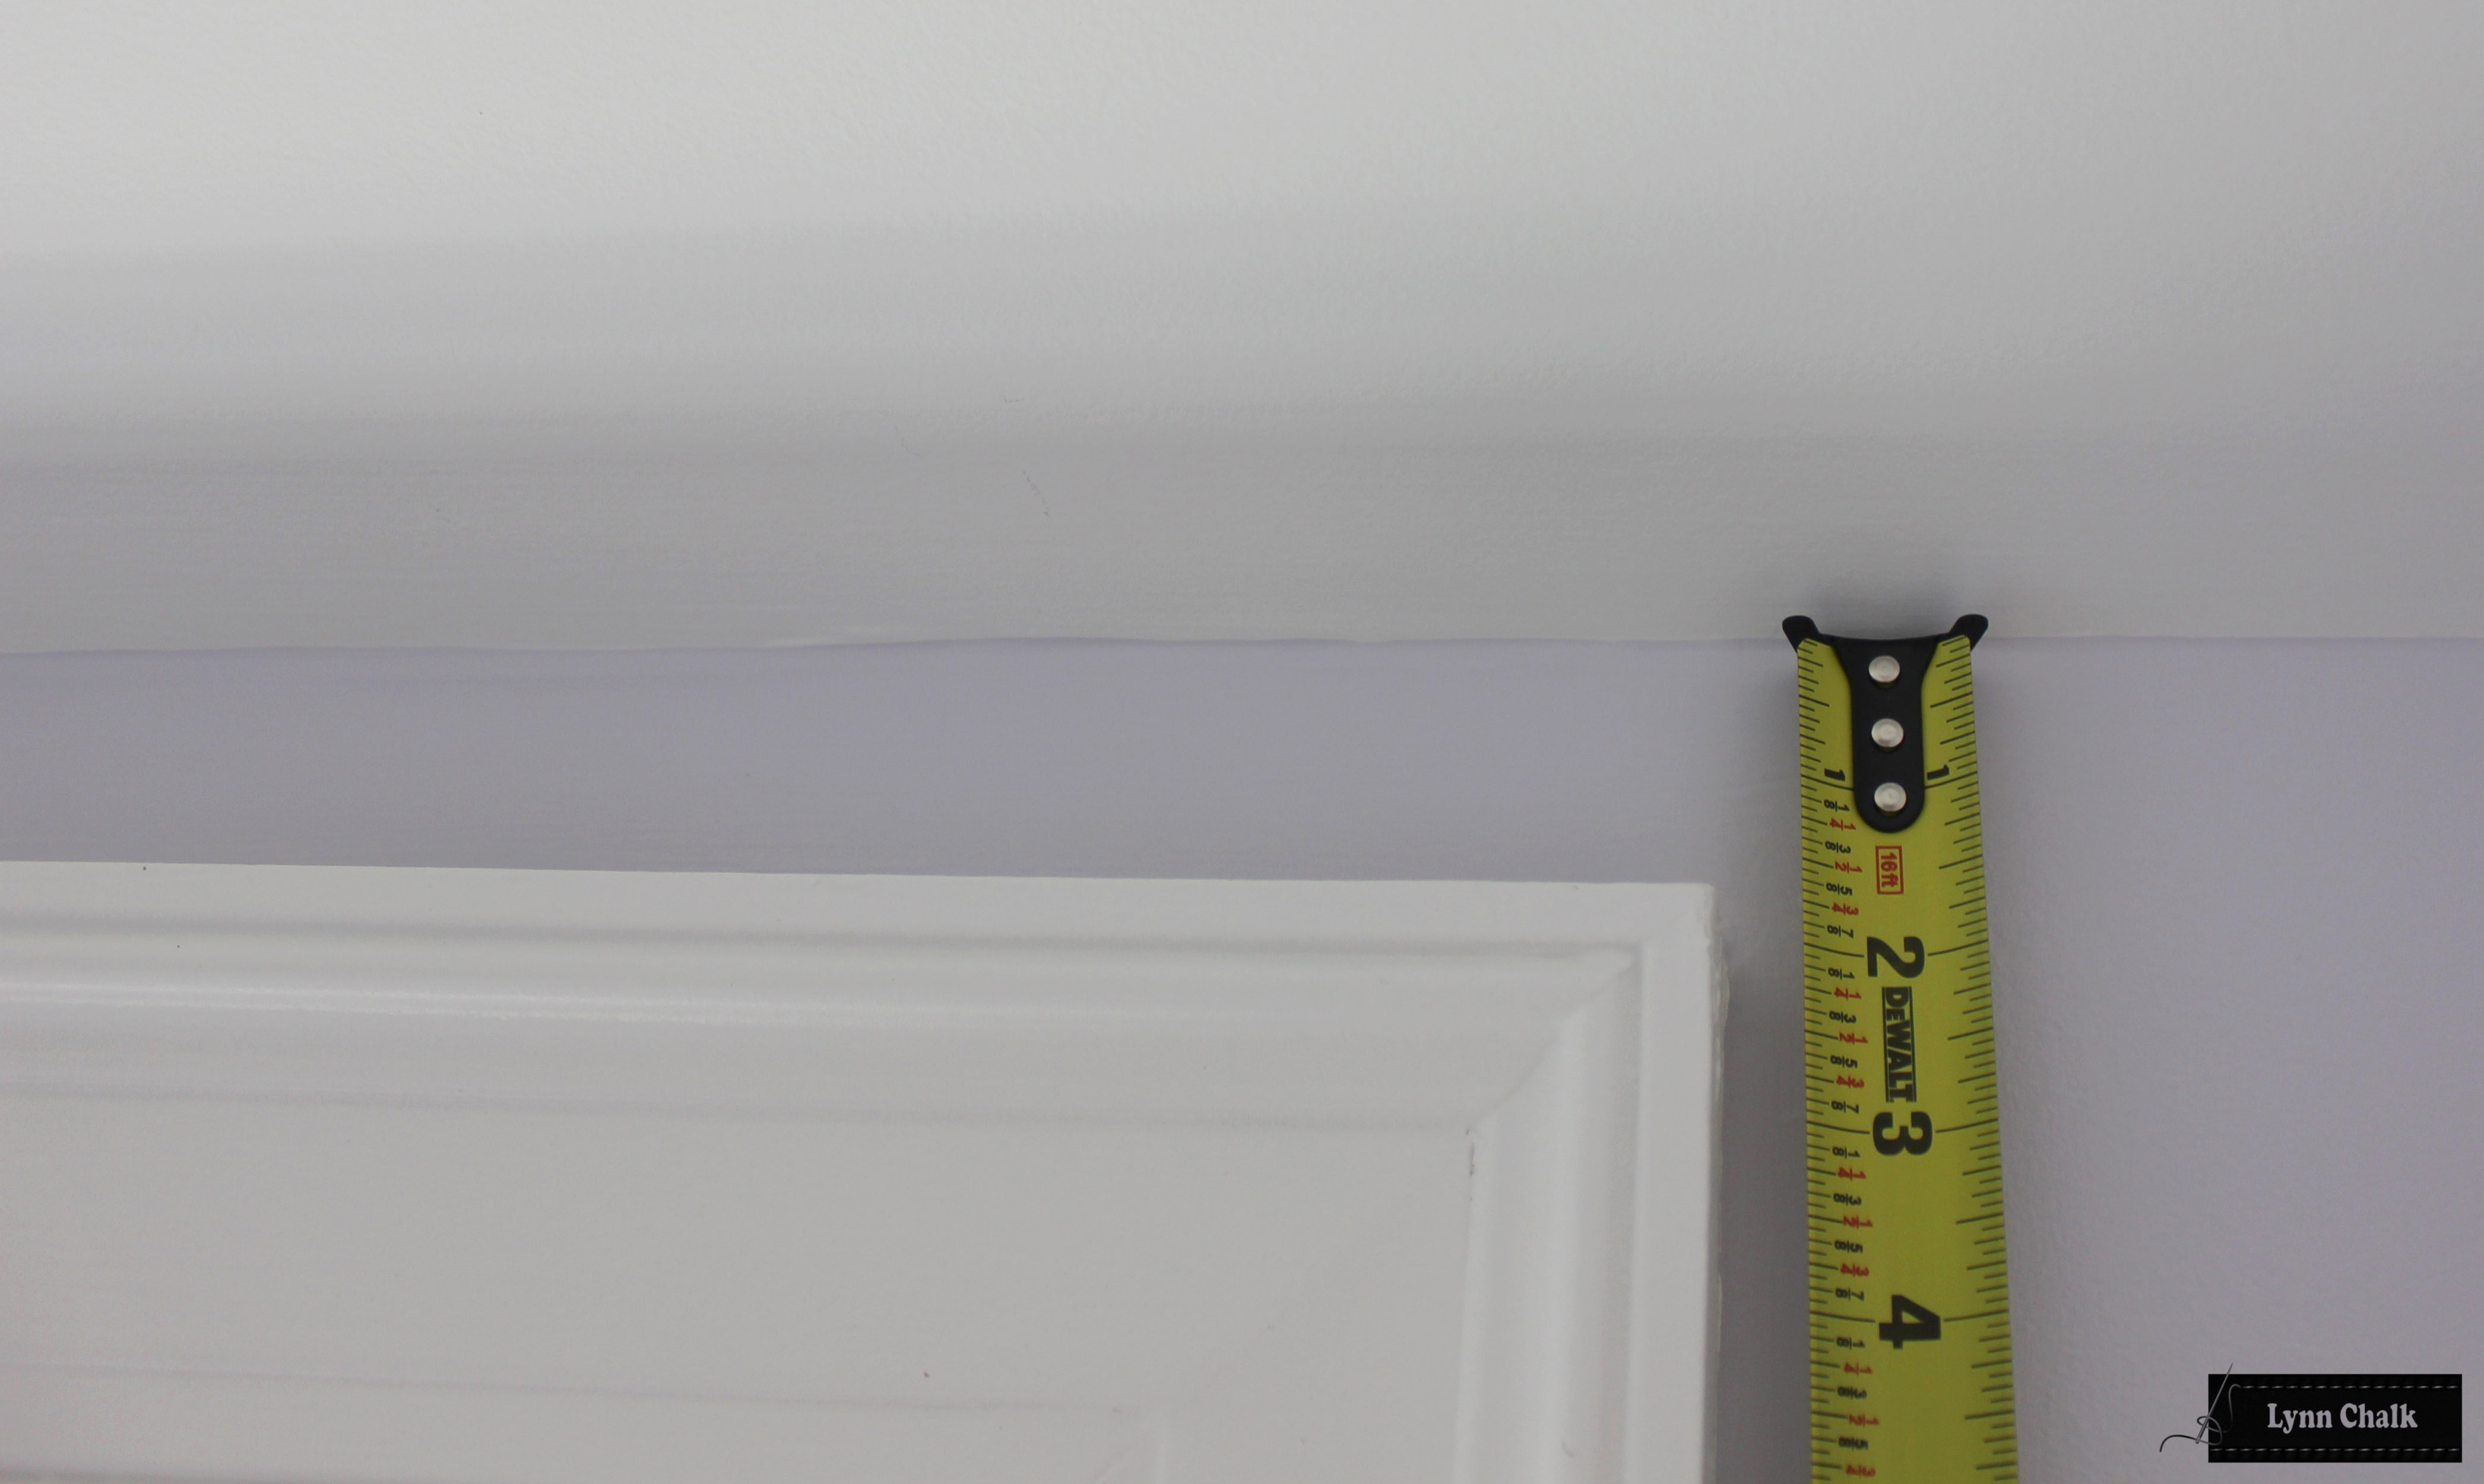
Measure the depth of the window casing from the wall to the front of the window casing. For both a ceiling mounted shade or mounting right on top of the window casing (such as if the ceiling slanted, or there is crown molding above), the roman shade board will have to be deep enough to clear the window casing, so the Continuous Cord Loop Clutch System sits in front of the window casing.
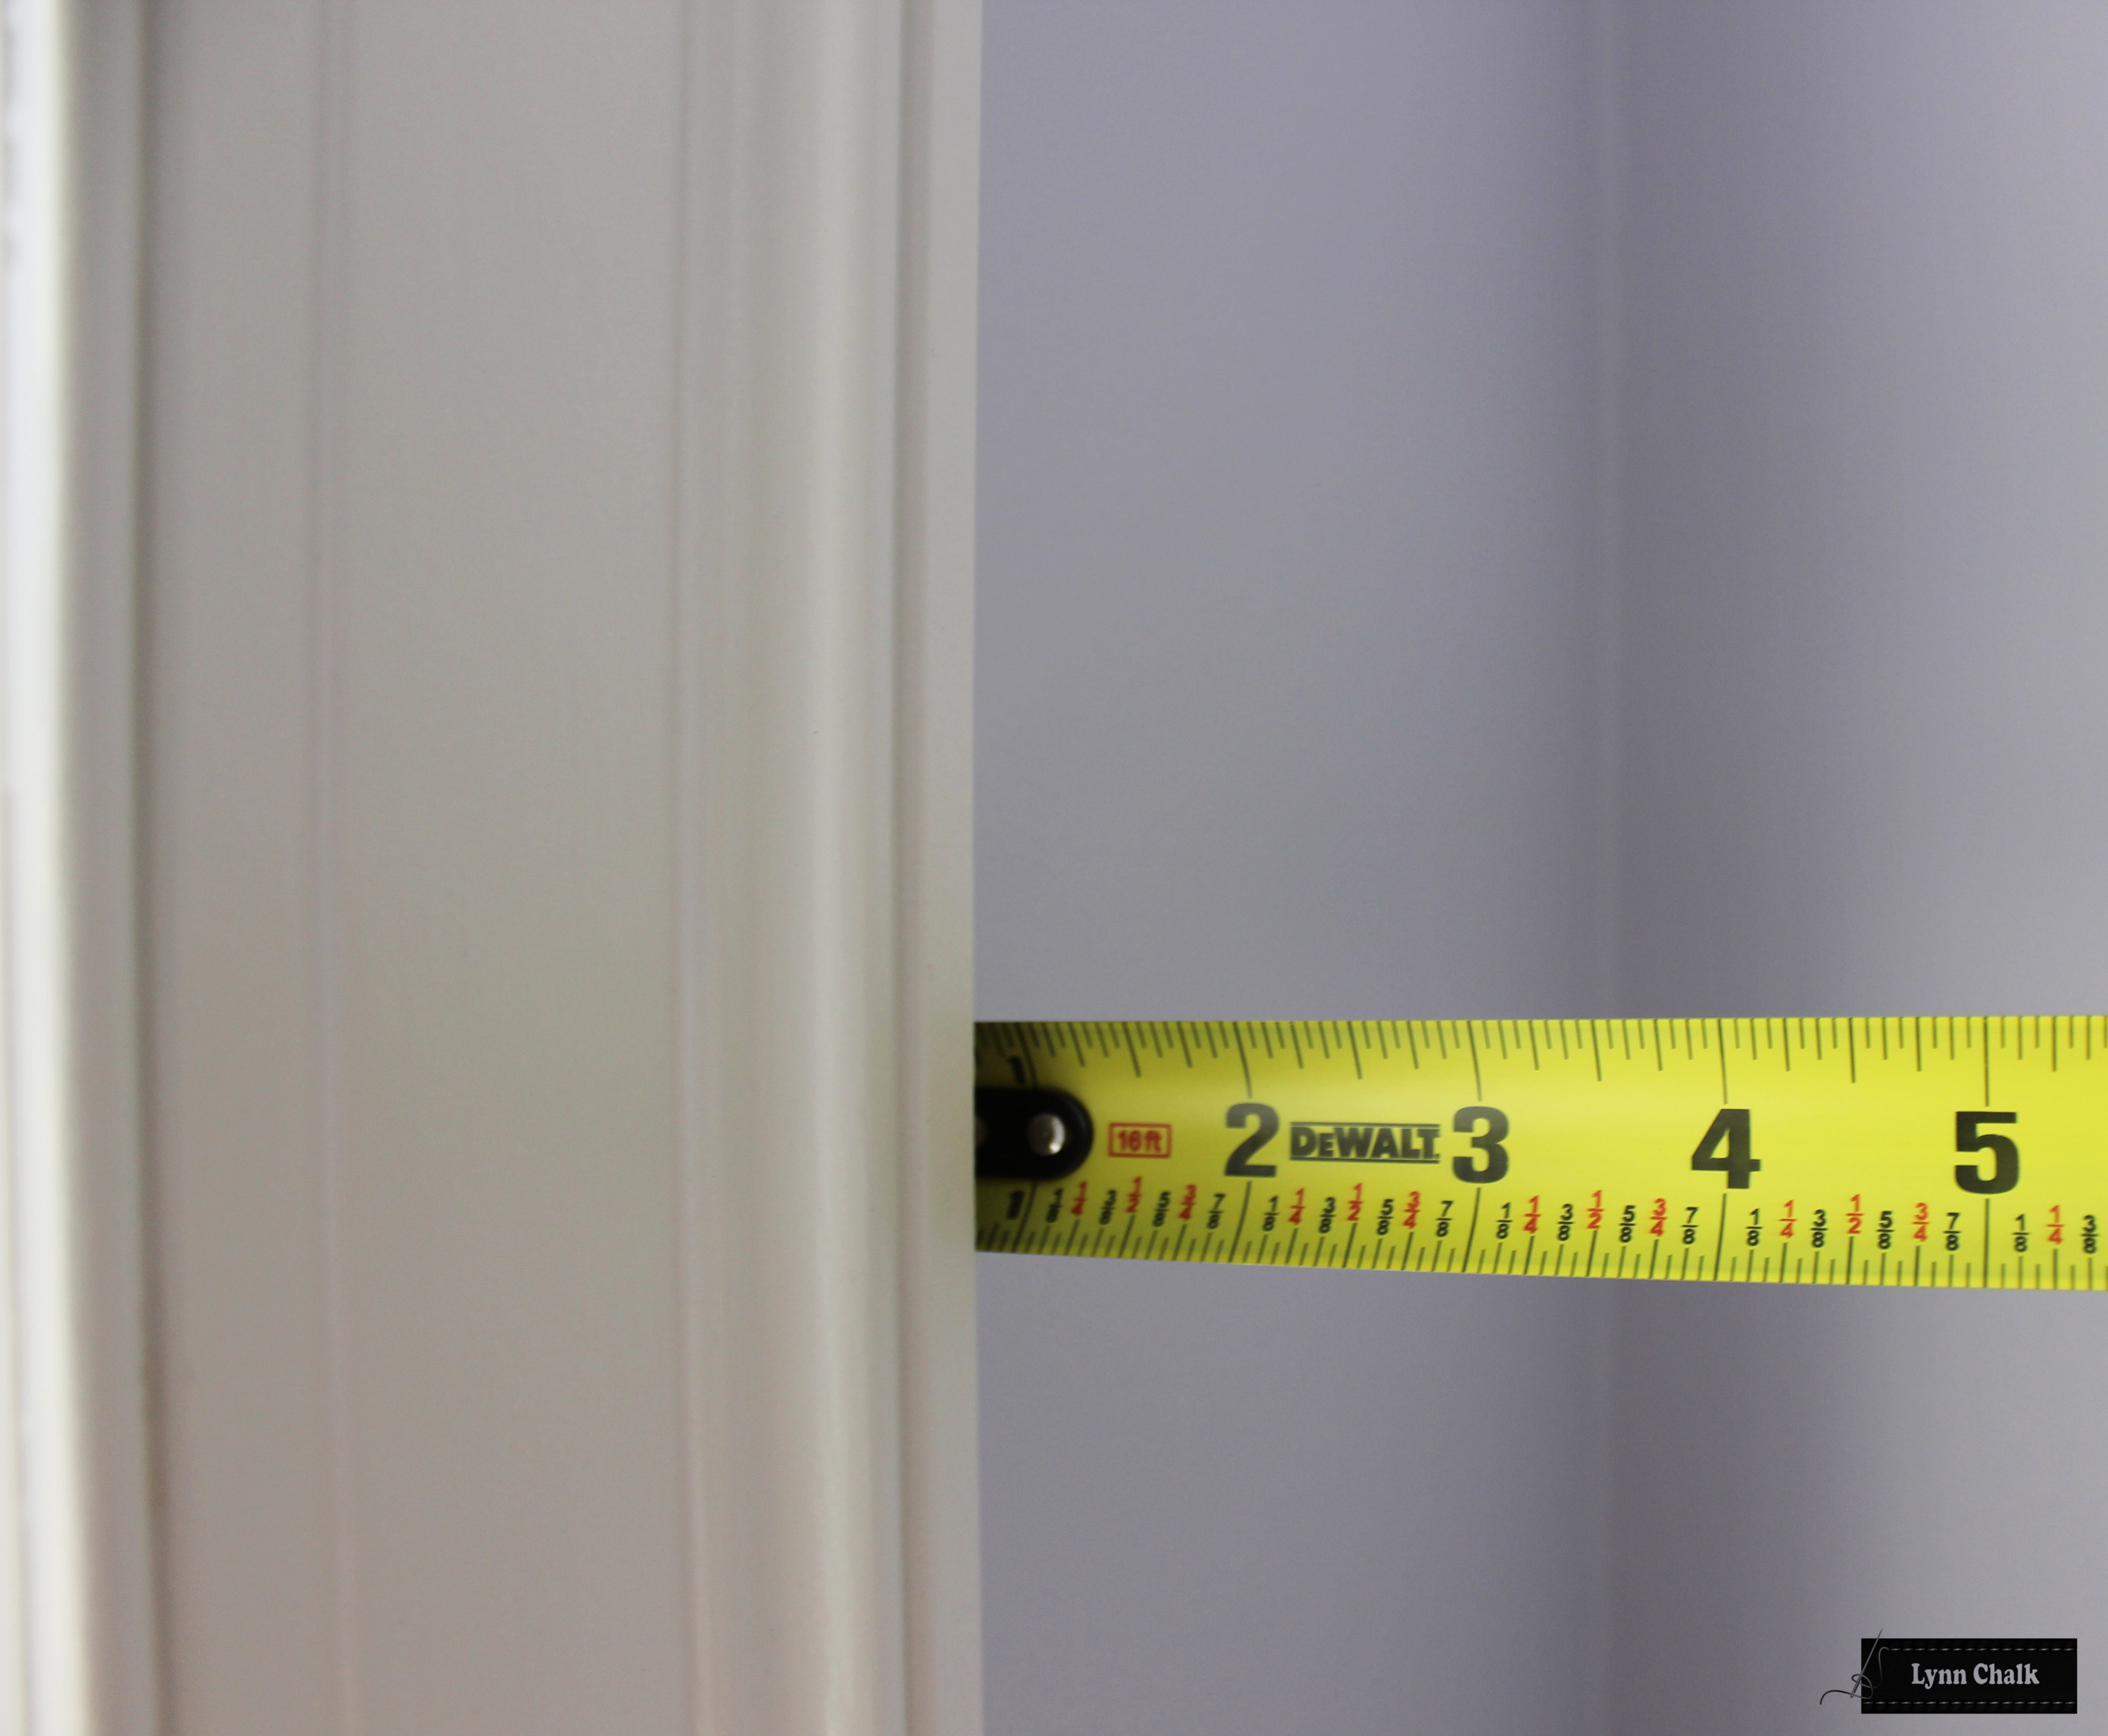
The board the roman shade is mounted on would sit right on top of the window casing. The depth of the board would be cut the depth of the window casing, plus 1 1/2" to accommodate the Continuous Cord Loop Clutch System which is 1.5” wide. The front of the board will project 1.5” in front of the window which would be about 1” more than if you mounted it 4” above the window. So you have to be aware that when the roman shade is down, there will be 1 ½” between the window casing and the shade. In this case it would be better to extend the width of the shade about 2” on each side to minimize light gaps, though there will be a gap that size. This scenario is only when your window casing is close to the ceiling and you want to do an outside mounted shade.
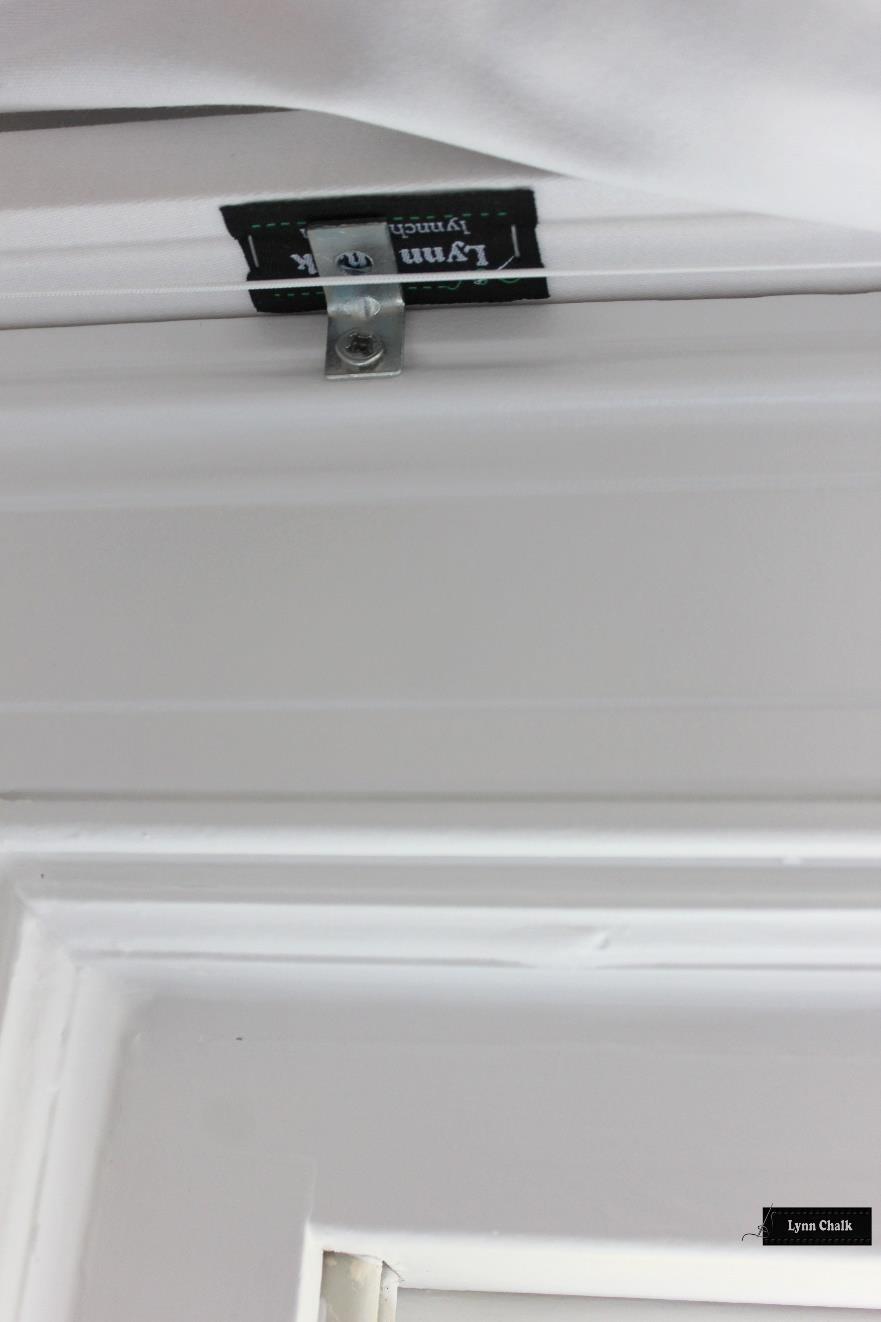
“L” Brackets would be mounted right on the corners of the window casing and 1 in the center of the window casing, and this is how a roman shade would look mounted right on top of the window casing.
Or this roman shade could be mounted right to the ceiling with long screws drilled through the bottom of the roman shade into the ceiling where there is wood behind it to hold it.
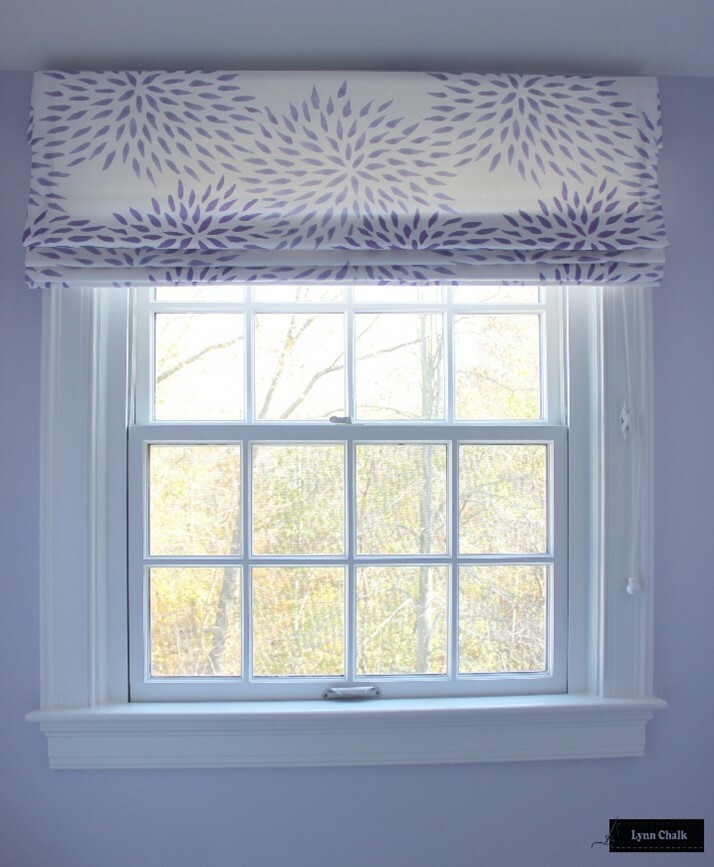
Fabric Returns made in the same fabric are installed on the outside corners of the roman shade to hide the lifting mechanism


